A step-by-step guide to integrating your Facebook Business Account with WebEngage
Retargeting users through Facebook & Instagram Ads just got easier!
With WebEngage, you can leverage all your customer data to create highly differentiated segments and export each one to your Facebook Business Account. You can then run several types of ad campaigns to re-engage these users and bring them back to your platform. These segments can also be leveraged to create Look-alike Audiences to augment your brand visibility by targeting high-intent users.
The first step is to integrate a Facebook Business Account with WebEngage. It's a one-time setup and connected accounts can be removed anytime you like.
Please Ensure That Your Website & Apps Are Integrated with WebEngage Before Proceeding(Doing so will help you create highly differentiated segments that can be leveraged to re-engage users on Facebook with targeted messages!)
Let's get you started!
Facebook Integration
As shown below, navigate to Data Platform> Integrations> Facebook (Configure) in your dashboard.

Click to enlarge
Steps to Perform on Dashboard
Click the Add Facebook Ad Account / Plus icon on the top left to get started. You can choose to integrate multiple ad accounts, as per your needs.
Step 1: Add Account ID
Navigate to the Business Manager section of your Facebook Business account. Here, you will find a list of all your Ad Accounts. Copy the ID for the account you'd like to integrate with WebEngage.

Click to enlarge
As shown below, paste it against the field, Ad Account ID in your dashboard.

Click to enlarge
Step 2: Name Ad Account
As shown above, please add a user-friendly name that enables you to identify the correct account for exporting a specific segment.
-
This comes in handy when you have multiple Facebook Business Accounts,_each used to run a specific type of ad (can be based on user type like Inactive users, New users OR based on product category like flights, hotels, holiday packages for an OTA, and so on)._
-
Next, click the Add Facebook Ad Account button to save details.
Step 3: Activate Integration
Admin Access to Ads Needed in Facebook Business AccountPlease get in touch with the Facebook Business Account owner if you're unable to activate the integration due to insufficient permissions.
Once you've added the details, you will need to Activate the integration by granting specific permissions on Facebook. Segments can be exported to the Facebook Account only after doing so. There are 2 ways to do so:
Option 1: Accept WebEngage integration Request
NoteIncase you haven't received request for Integration from WebEngage, kindly follow steps mentioned in Option 2

Click to enlarge
As shown above:
Step 1: Click the Approve Integration button on the pop-up.
- In doing so, you will be directed to Facebook Business Manager.
Step 2: Select the account for which the Ad Account ID was added at Step 1.
- In doing so, you will be directed to the Business Settings > Requests section.
Step 3: Grant WebEngage the permission to Manage Campaigns, View Performance, and Manage the respective Facebook Ad Account.
- In doing so, your Facebook X WebEngage integration will become operational, indicated by the Status, Active in your dashboard.
Option 2 : Give a partner access to your assets
Incase you haven't received WebEngage integration request then follow the steps mentioned below:
- Go to your FB business account (which is linked with your ad account) and select 'Business settings'

- Select Partners on the left menu
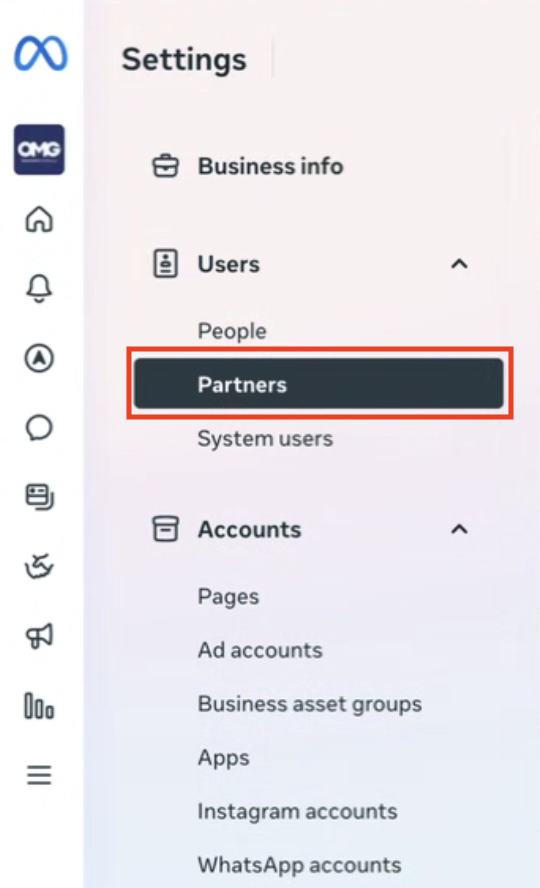
- Click on Add 'Give a partner access to your assets'

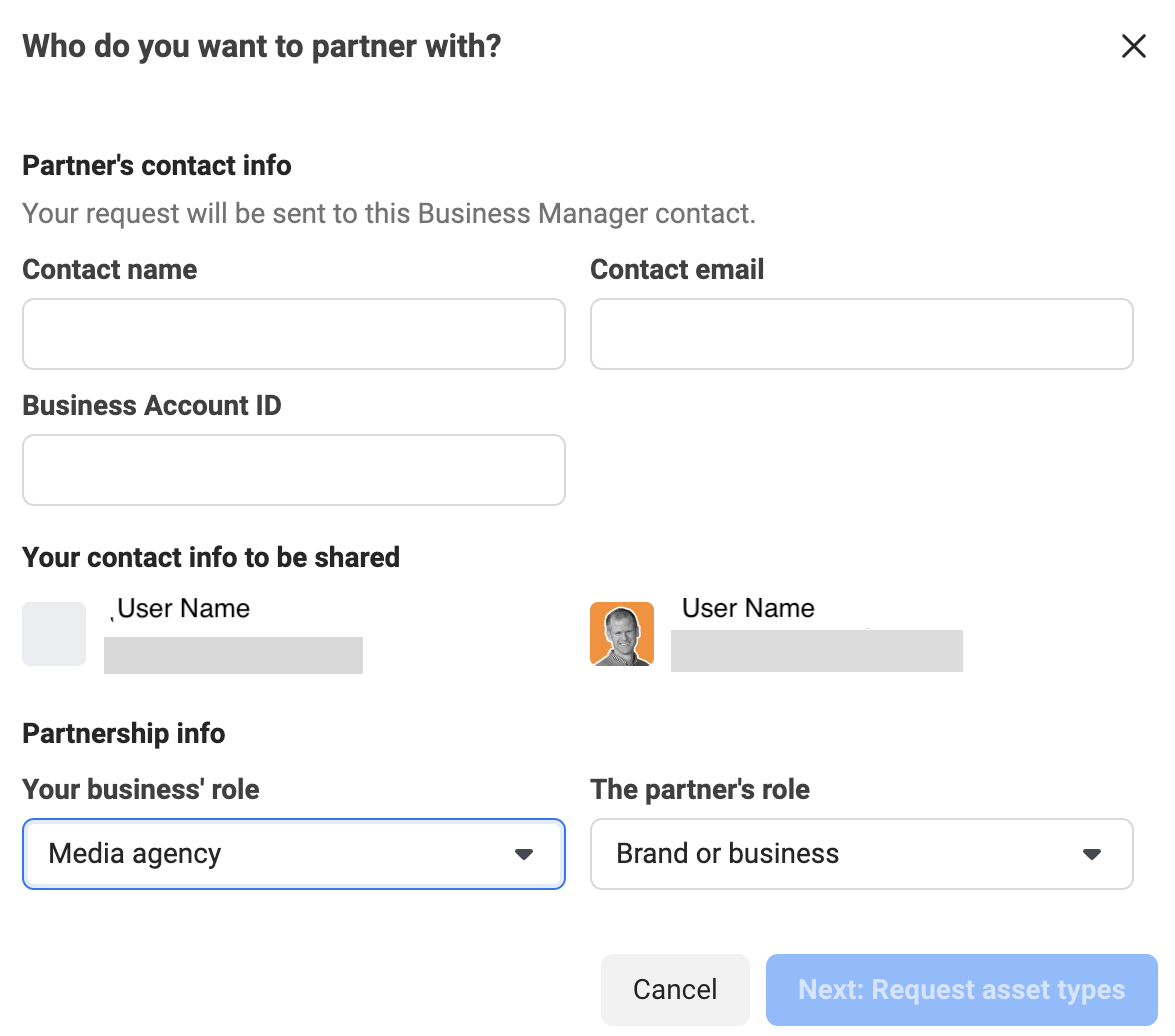
- It will prompt you to Add a Partner ID. Add WebEngage's business ID : 304096943501108

- Select Ad accounts in the left navigation and select your add account asset to connect with WebEngage

-
As shown above, it will ask you for permissions to be shared. Make sure to give 'Full control' access and Save
-
Go back to the WebEngage dashboard and refresh to check the integration status. It should now be 'Active'
Congratulations!You're all set to re-engage users through Facebook & Instagram ads.
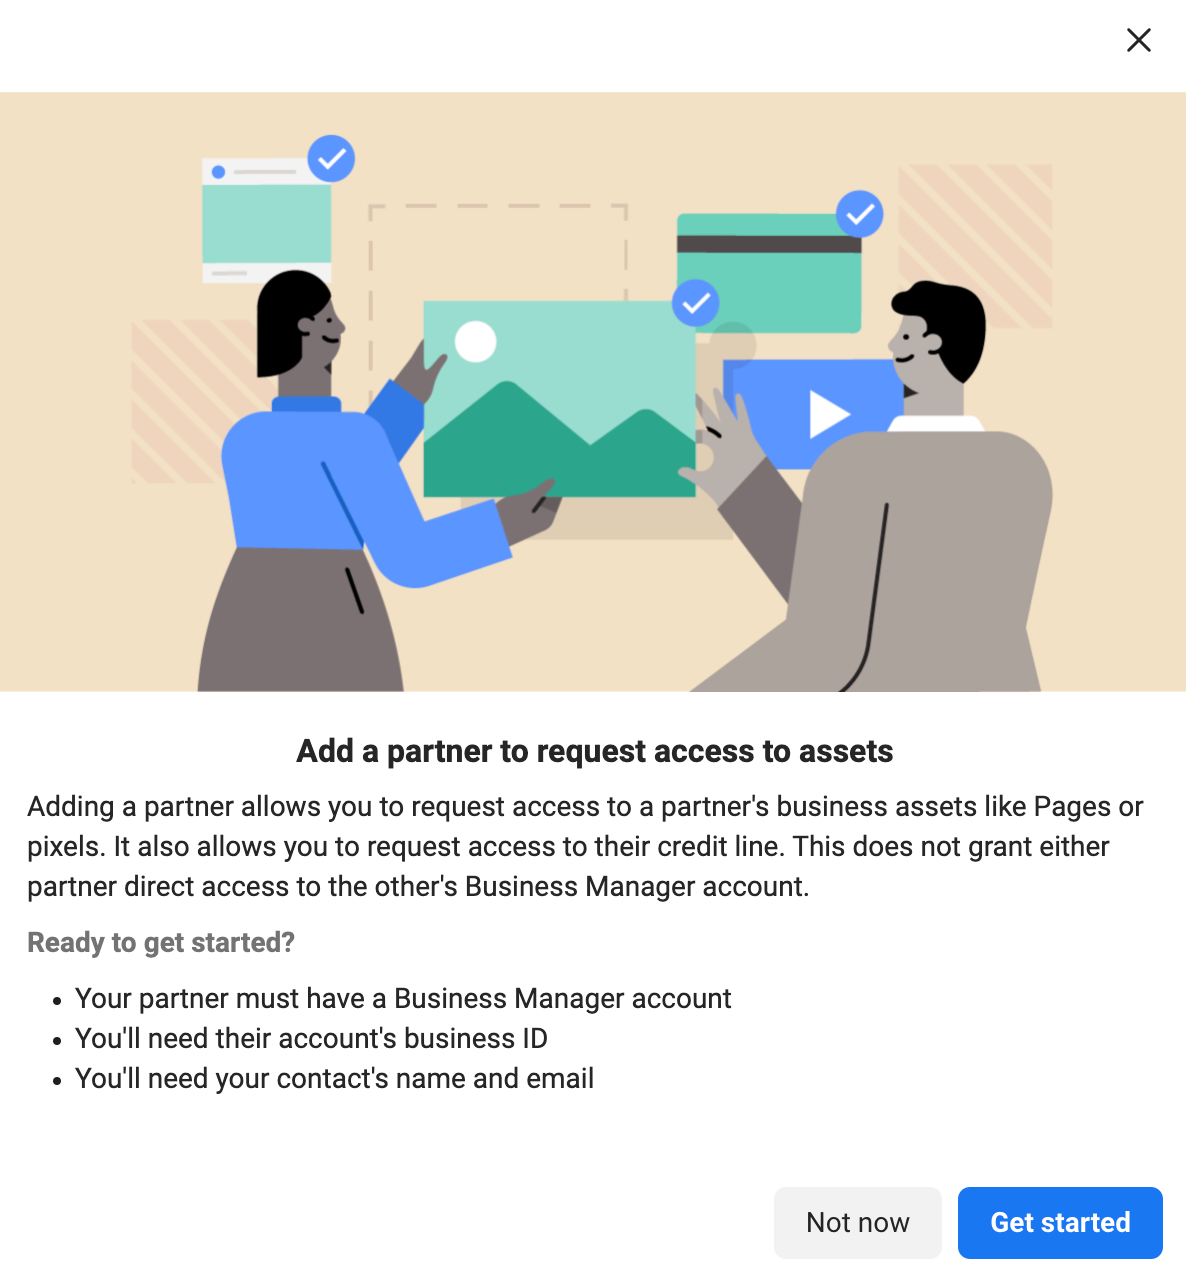
You can also initiate this process directly from your Business Manager by selecting Ask a partner to share their assets. In that case, you are likely to receive the following message.
On continuing, you can go ahead and fill the rest of the details, as shown in the image below
Managing Connected Accounts
All integrated accounts are listed under the section, Facebook Ad Accounts. Here, you can choose to remove an account, edit the integrated account's name in your dashboard, and approve pending integration to activate connected accounts.

Click to enlarge
Let's walk you through all the details:
Integration Status
Depending on whether the necessary permissions have been granted to WebEngage on Facebook, your integration can have any of the following statuses:
Active
Indicates that the Business Ad Account is successfully integrated with WebEngage. This means that all your Recurring Segment Exports are being synced periodically and new segments can be exported anytime you like!
Pending
Indicates that activation is pending for a Facebook Business Account for which Account ID has been added. This could happen if:
-
You deny permission to WebEngage at Step 3: Activate Integration.
-
The WebEngage account admin who initiated the integration does not have sufficient permissions to manage the Facebook Business Account (preventing them from activating the integration).
Activate Integration
If you're unable to grant WebEngage the permission to manage audience lists for the Facebook Ad Account during integration, then you can choose to do so at a later date. Segments can be exported to Facebook only once the integration is activated.
- Select Activate from the Actions menu and follow these steps to enable data export.
Removing Ad Account
You can choose to Remove an account anytime you like. Doing so will PauseRecurring Segment Exports for all Active accounts and will prevent you from exporting new segments. However, all data exported to the Facebook Business Account previously remains unaffected.

Click to enlarge
As shown above:
Step 1: Select Remove from the Actions menu.
Step 2: Click Remove Facebook Ad Account in the pop-up to confirm your decision.
Step 3: Remove WebEngage from the Partner's section in your Facebook Business Settings to revoke WebEngage's access to your Audience and Ad Management.
Please feel free to drop in a few lines at [email protected] in case you have any queries or feedback. We're always just an email away! :)