Salla
Salla is an e-commerce platform that enables businesses to create and manage online stores with ease. It provides merchants with tools to manage products, process orders, and deliver seamless shopping experiences to customers.
This integration connects Salla's commerce data to WebEngage's engagement engine. Store events such as orders, cart actions, product views, customer registrations flow into WebEngage in real time via Salla's webhook system and the WebEngage REST API. Once data is synced, your marketing team can build segments, launch automated journeys, and deliver hyper-personalized campaigns without writing any additional code.
Key Capabilities
- Real-Time Event Streaming: Key store actions such as orders, cart updates, and customer registrations are instantly streamed from your Salla store to WebEngage through webhooks, enabling real-time segmentation and campaign triggers.
- Omnichannel Engagement: Engage customers across multiple channels including Push, In-app Messages, Email, SMS, WhatsApp, Web Push, On-site Notifications, and Facebook Retargeting from a single platform.
- Behavioral Tracking: Track customer interactions such as product views, cart activity, and purchases to better understand user behavior and create targeted audience segments.
- Campaign Automation: Automatically trigger personalized campaigns like cart reminders, welcome messages, product recommendations, and re-engagement campaigns based on user actions.
Integration
To get started, reach out to your WebEngage Sales Point of Contact to request the Salla integration setup. You can choose from:
- Public Plans: Available directly within the Salla app marketplace
- Private/ Custom Plans: Tailored to your store size and specific requirements
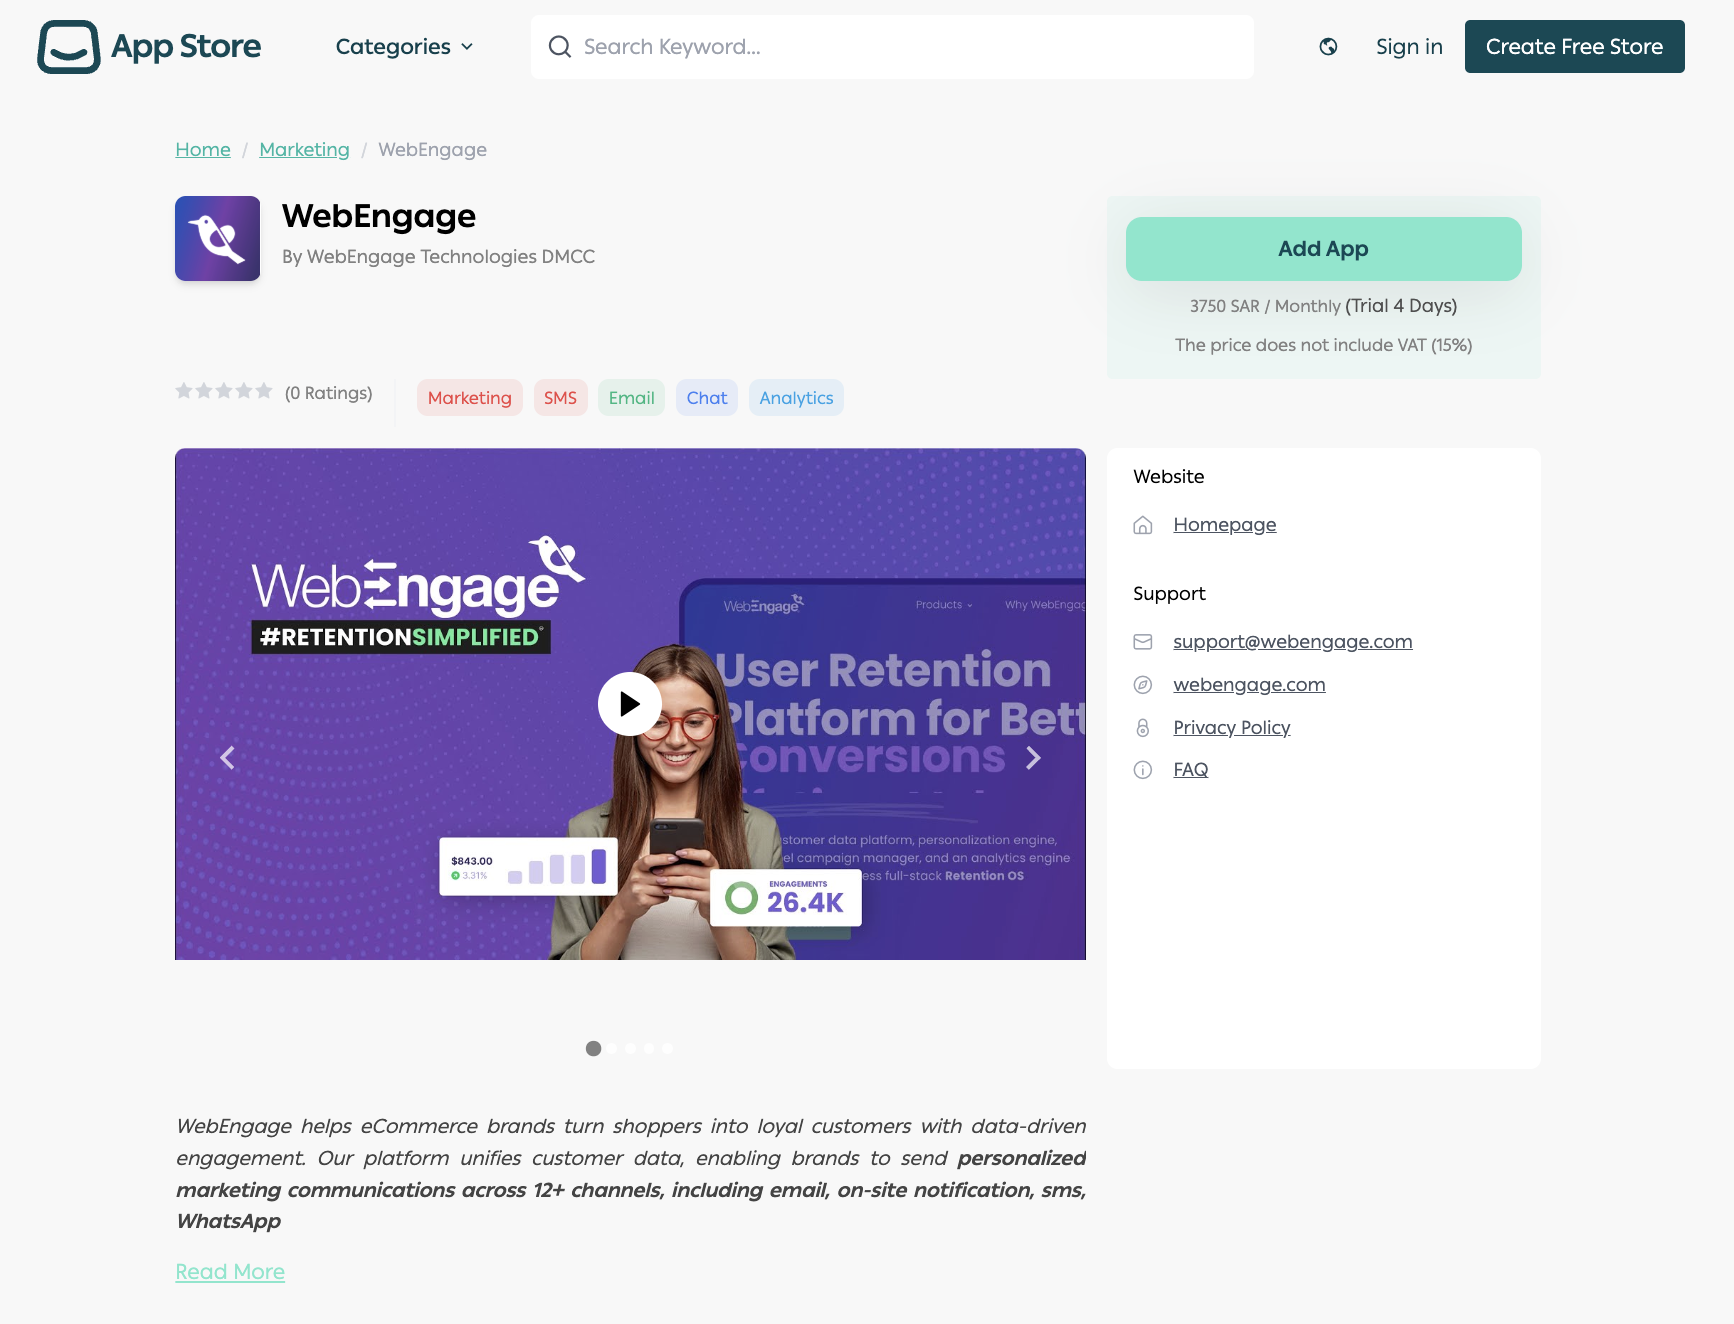
Integration for Public App
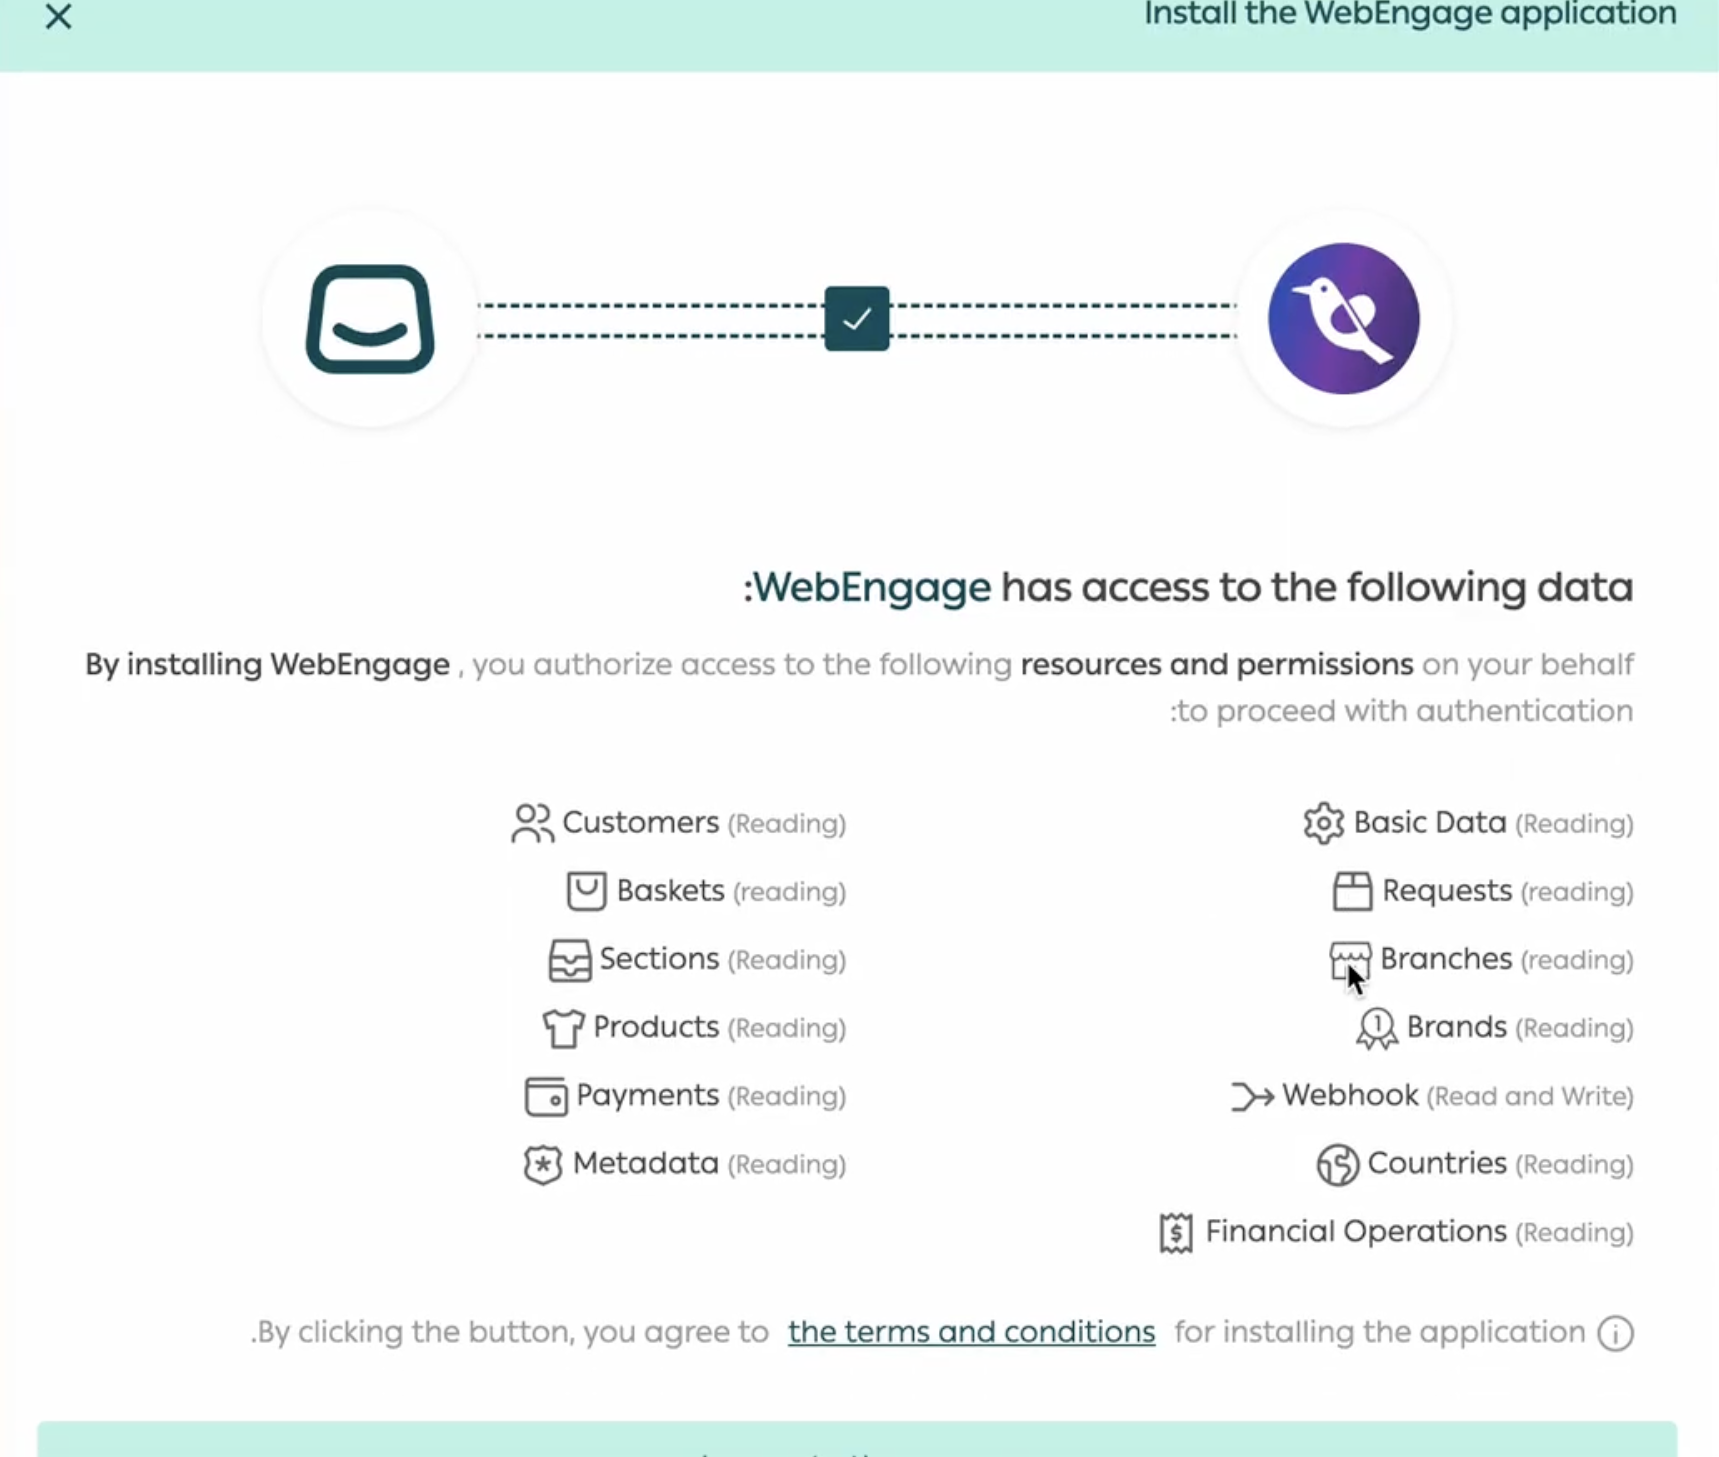
Webengage App is available on Salla Appstore, you can search for the WebEngage App, to install it by choosing any one of the available subscription plans as per your ecommerce store size or request a private plan customised as per your needs
Once that's done, Review features and grant required permissions to WebEngage to proceed.

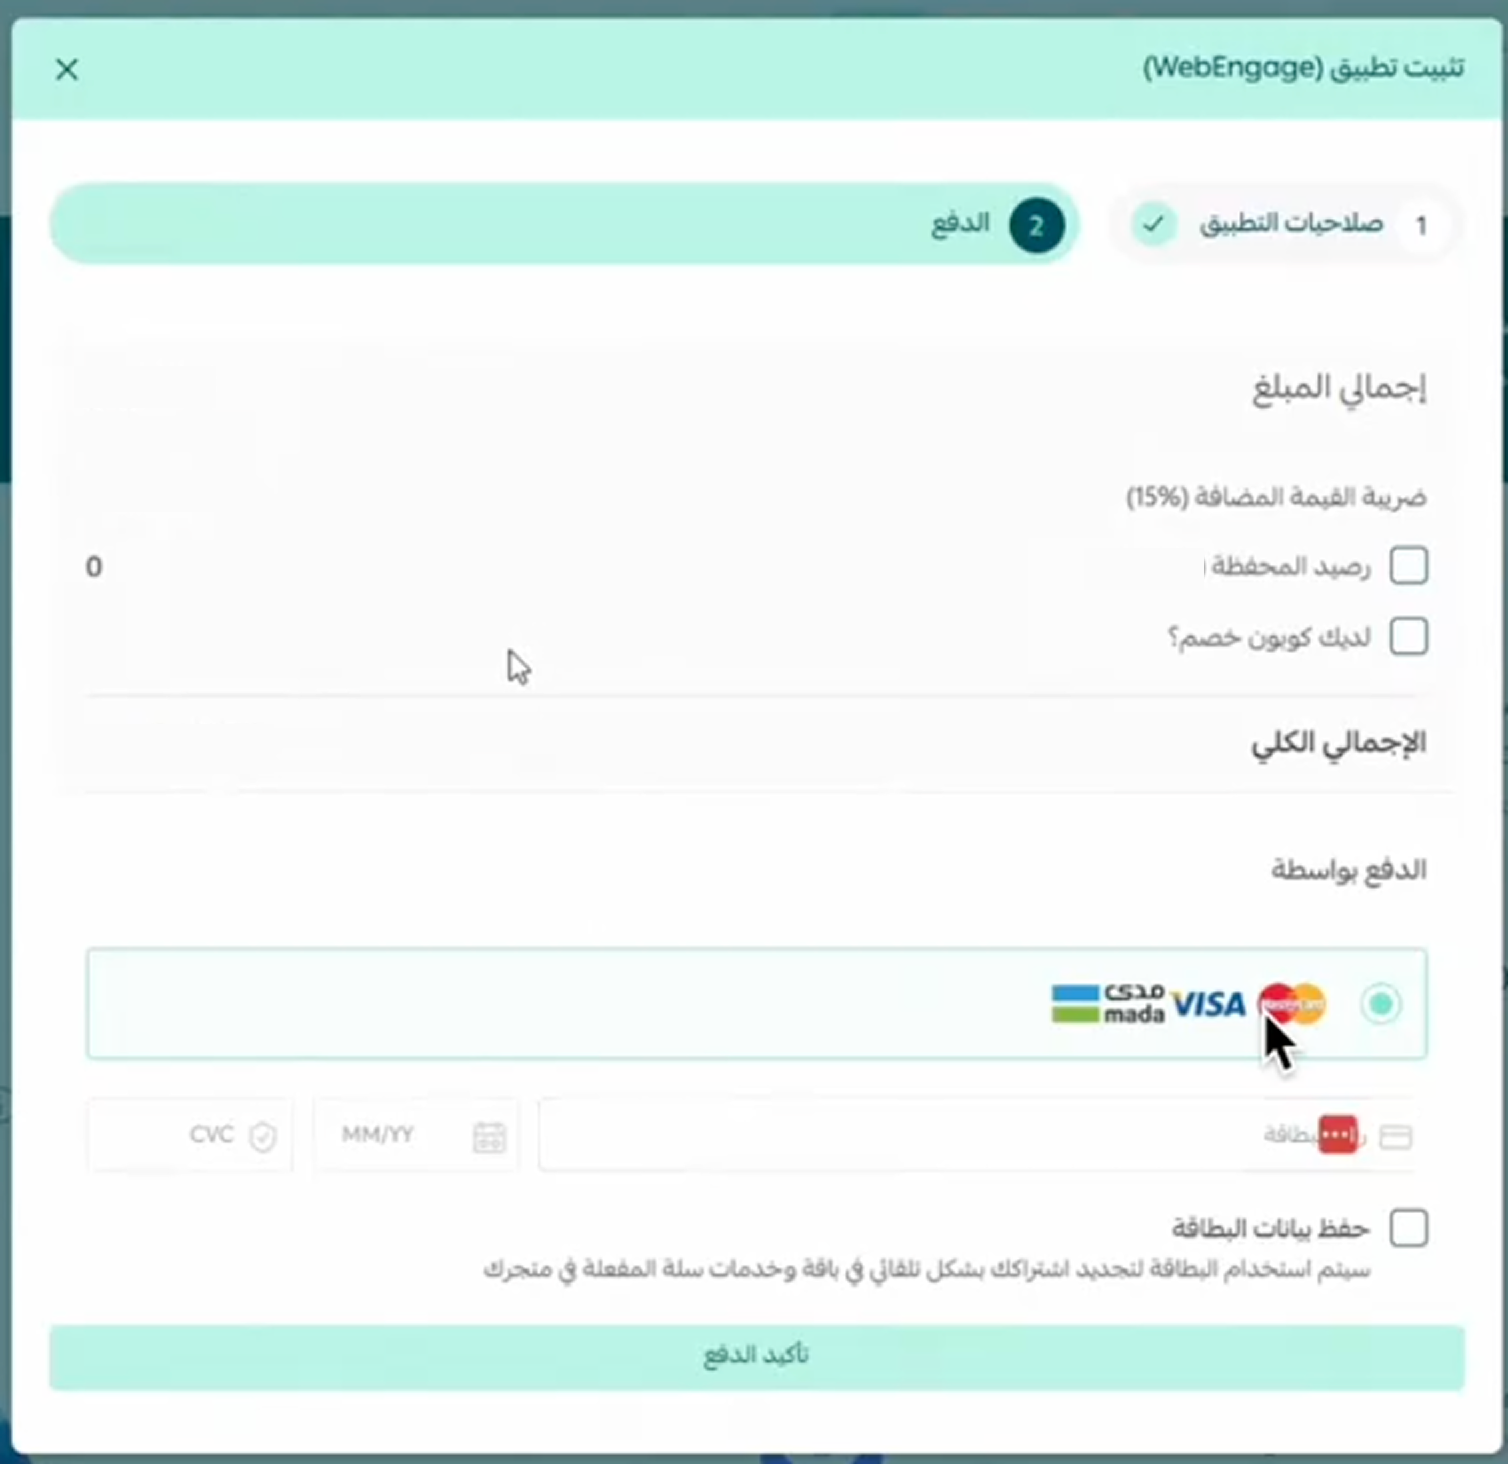
Once that's done you can proceed to the payment page, to complete your purchase.
Integration for a Private App
If the available public plan is not suited for your store size or you have advanced feature requests, kindly contact our Sales team for a Private/ Custom plan.
Here's how you can go about setting up your Private/ Custom Plan:
- First start by logging into your Salla Merchant Dashboard.
- Accept the private plan request shared by WebEngage
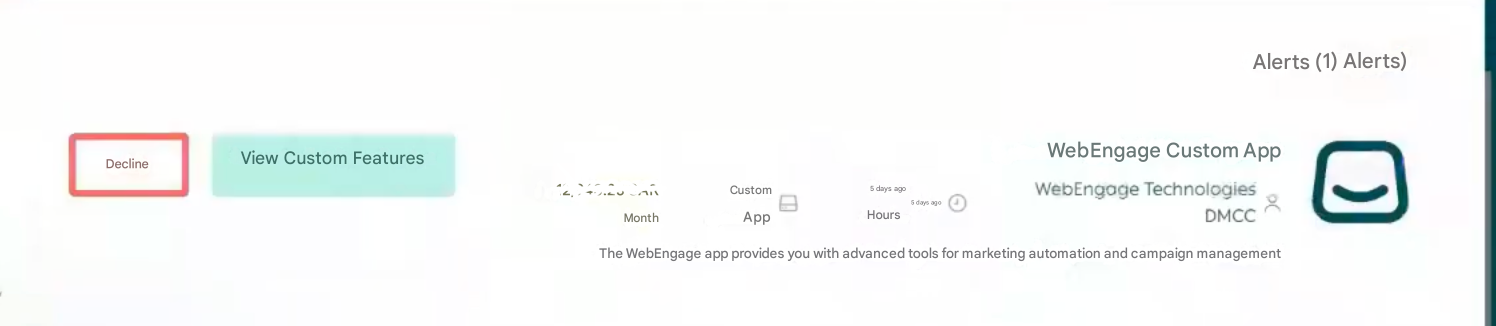
Click on the 'View Custom Features' option, which will then ask you to agree to the permissions that WebEngage will require.
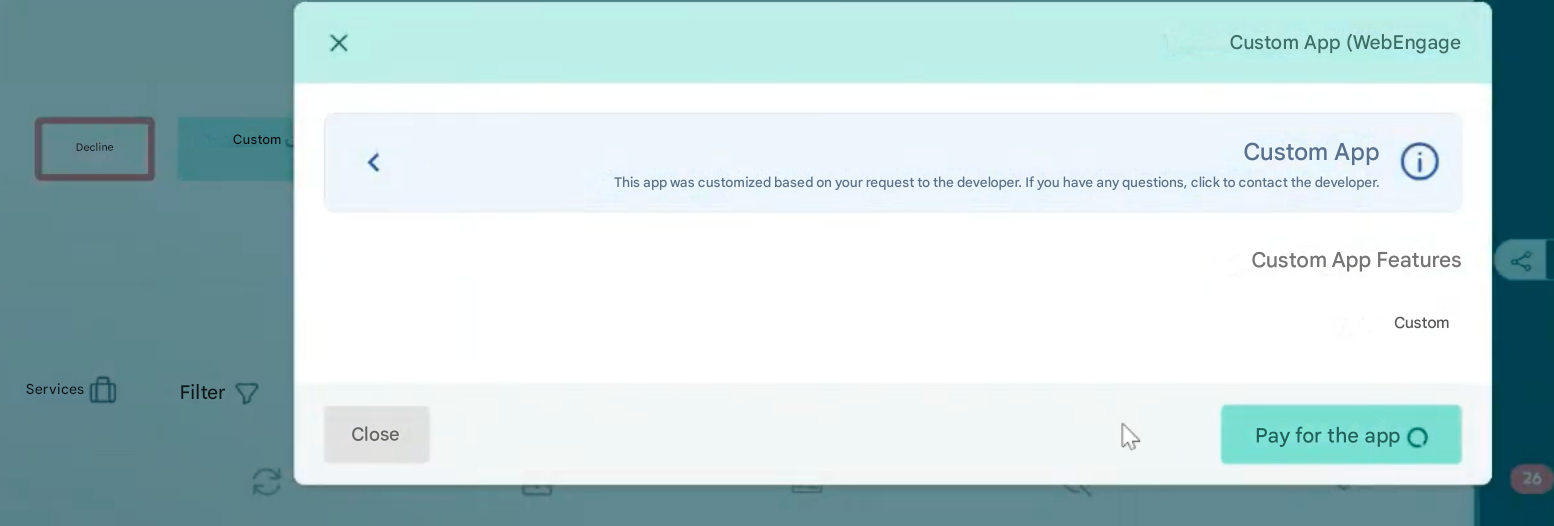
- Proceed to grant WebEngage the required access and permissions, similar to the steps outlined in the Public plan setup.
- Proceed to making the payment for the WebEngage app.

App Settings Update
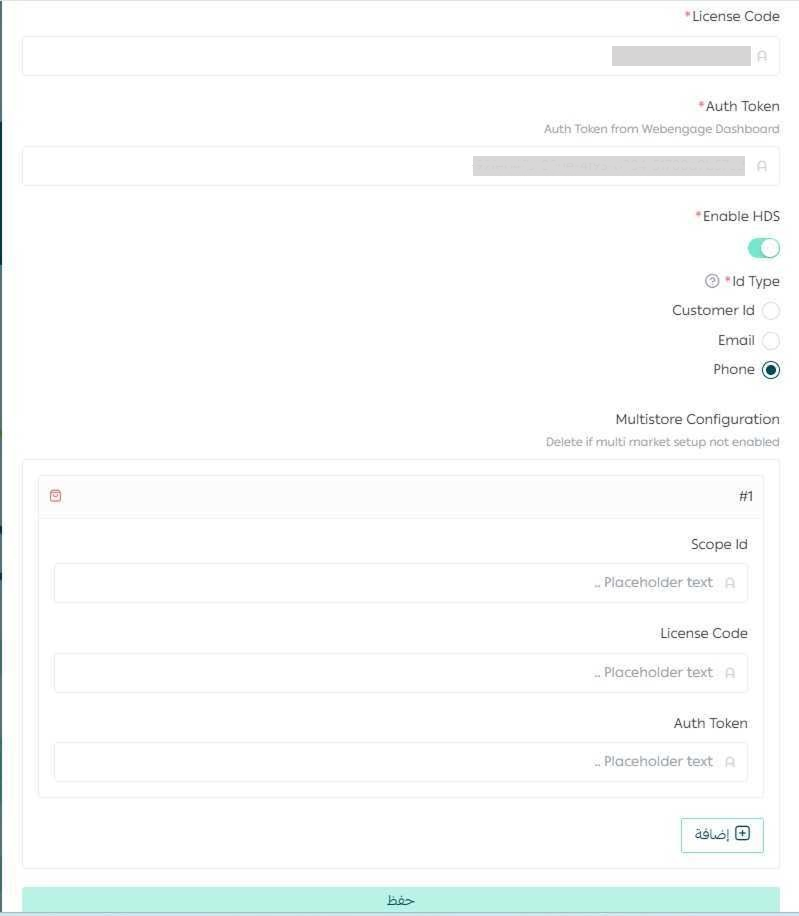
In this section, you must enter the below details to integrate your Salla Store to the WebEngage dashboard. Contact your Sales/WebEngage POC to retrieve these credentials.
-
License Code the license code of your WebEngage Dashboard that can be retrieved from the link of the dashboard, as shown below

-
Authentication Code from WebEngage Dashboard within Service Accounts section, as shown below
- ID type: that you would like to use for your login, here you have the option to choose from: Customer ID (Salla), Email or Phone.
Note: This choice is essential for linking anonymous activity with authenticated user profiles, so be sure to use the same identifier your business relies on as the primary customer key.
- You also have the option to enable HDS (Historical Data Sync): which when enabled all historical data for Salla users would get synced with WebEngage.
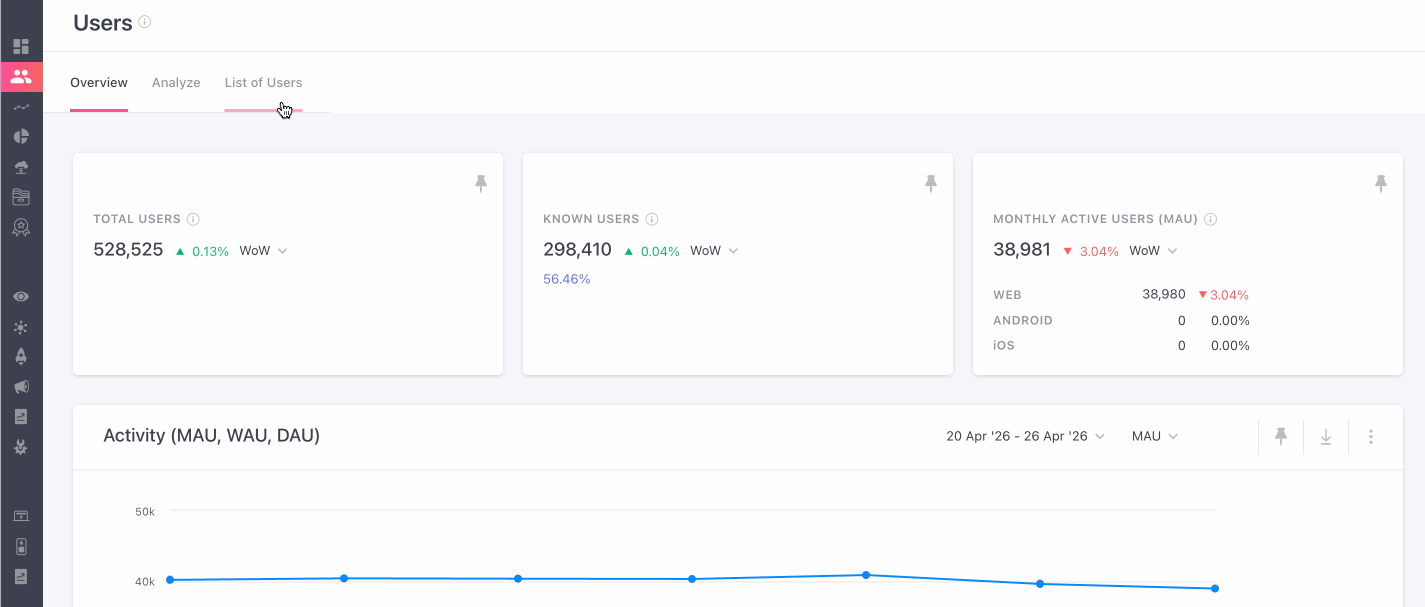
Once you've completed the following steps, you can check your WebEngage dashboard to see if the integration was successful.
Multi Market ConfigurationIn case, you have multiple dashboards for multiple stores, you can continue to add the details such as Scope ID, License Code and Authentication Token within the Multistore Configuration section.
In case you don't want it enabled, please feel free to delete the section.
Use Cases
- Recover Abandoned Carts:Send automated reminders to customers who leave items in their cart to encourage them to complete their purchase.
- Welcome New Customers: Engage new users with welcome messages, onboarding content, or special offers after sign-up or their first purchase.
- Personalized Product Recommendations: Recommend relevant products based on customer browsing and purchase behavior.
- Re-engage Inactive Customers: Identify users who have not interacted with your store for a while and send targeted campaigns such as special offers, product updates, or reminders to bring them back and encourage renewed engage.
Updated about 1 month ago