Sinch
Prerequisite: Verify From Email/Domain
Please verify all the Sender IDs you'll be using for Email marketing in your Sinch dashboard before proceeding.
Configuration

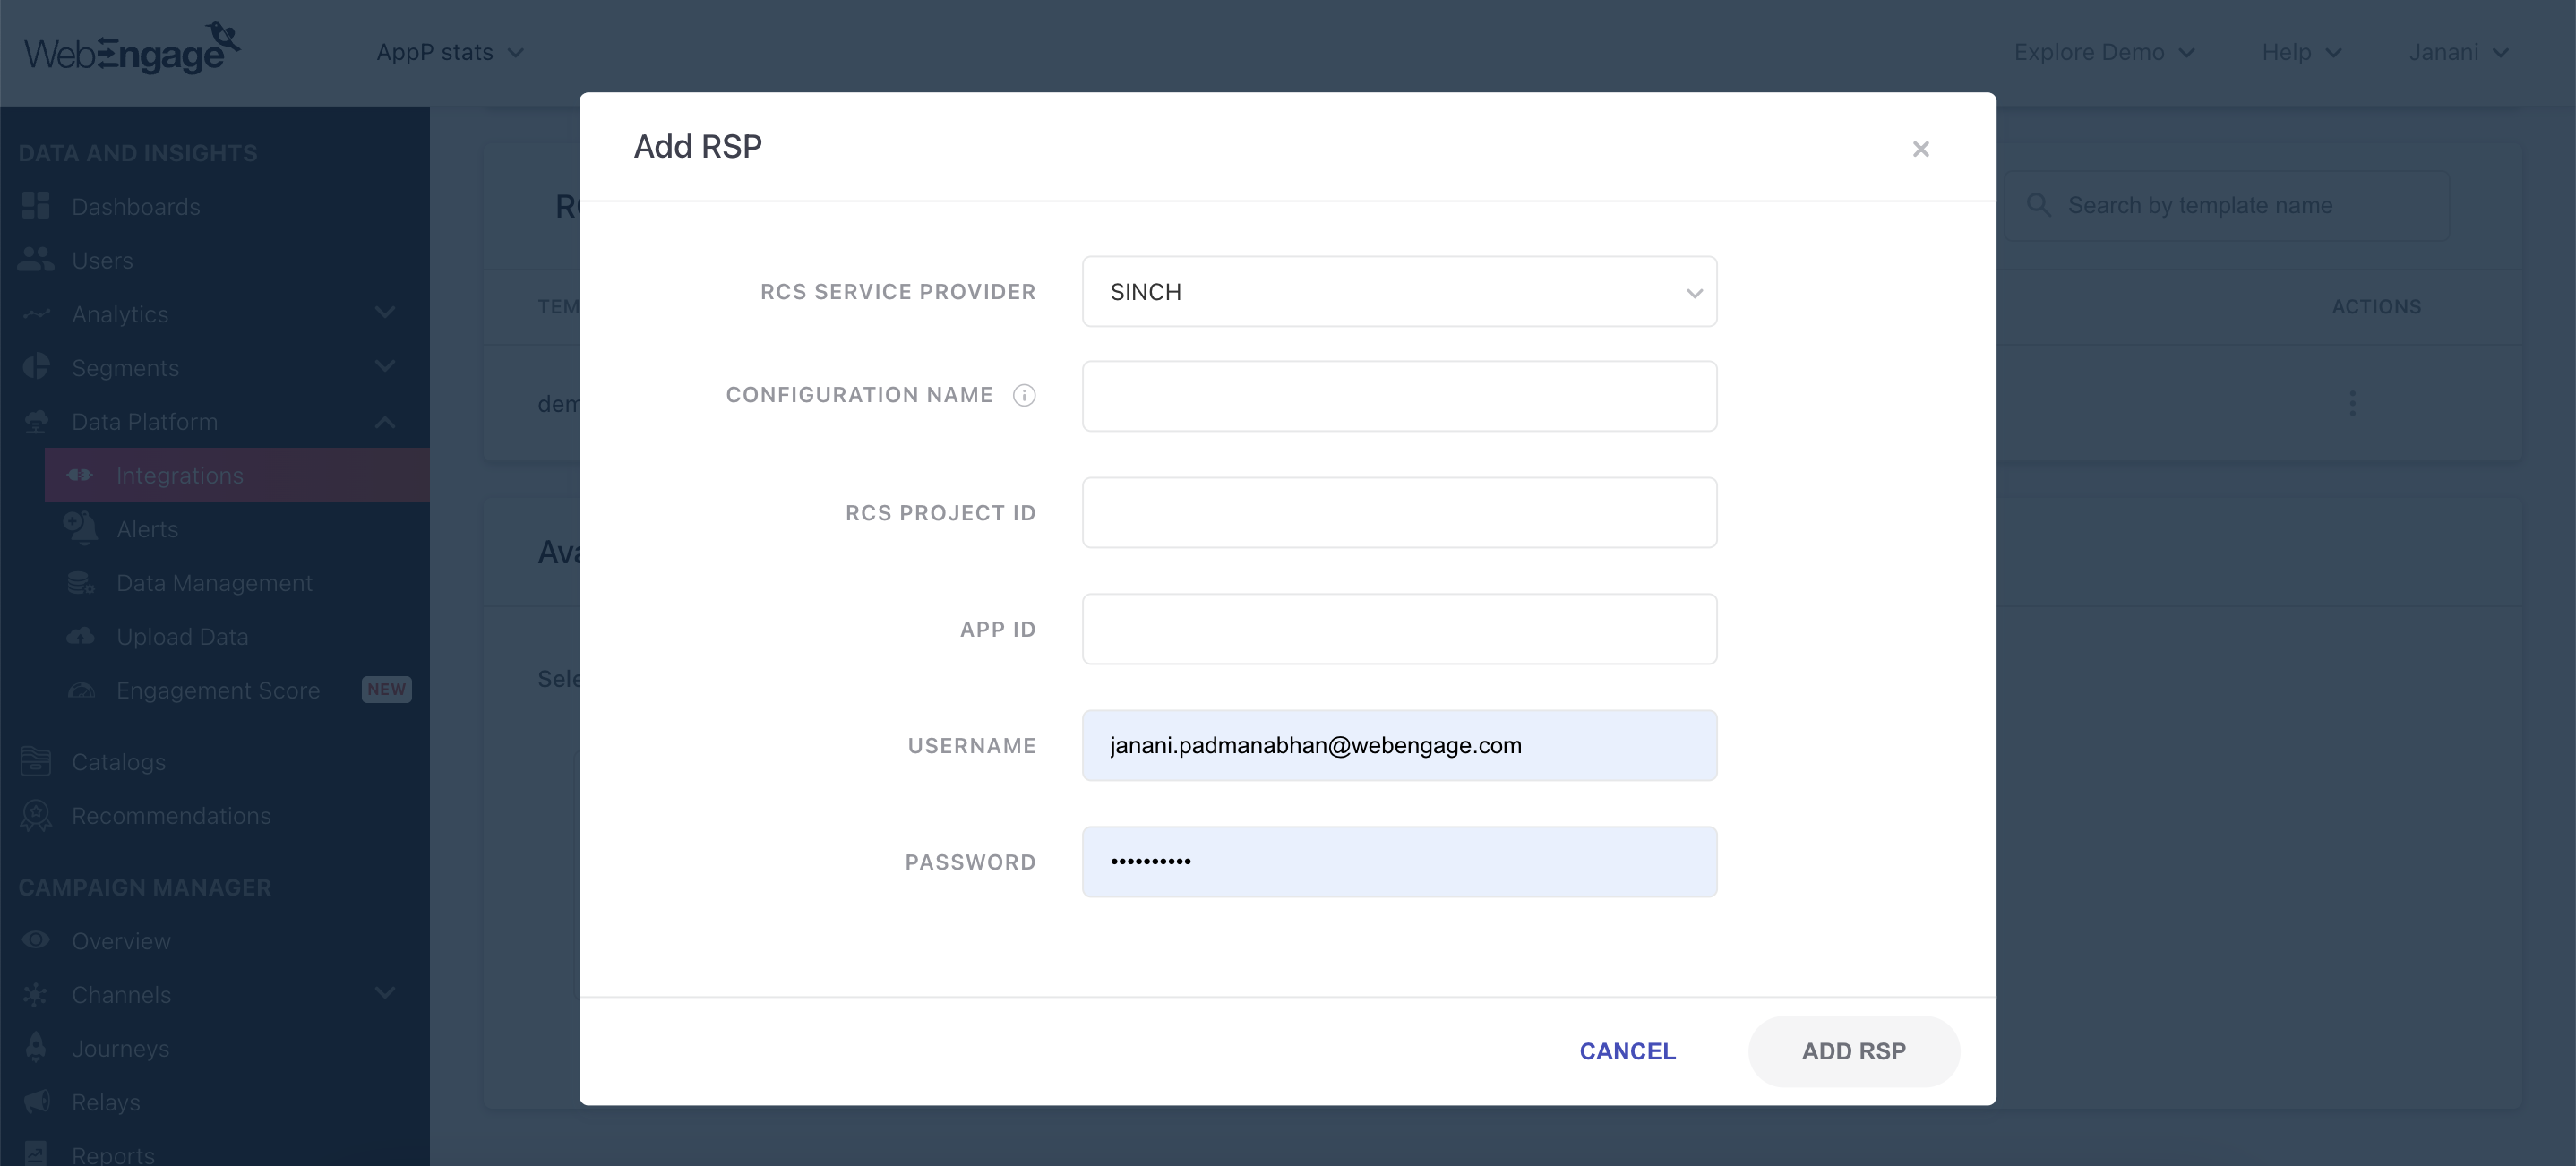
Click to enlarge
As shown above:
Step 1: Select RSP
Select Sinch from the List of Available RSPs. In doing so, you will be prompted by a configuration modal.
Step 2: Name your Configuration
Please add a user-friendly name that enables you to identify the right RSP for a campaign while creating it. This comes in handy especially when you have multiple accounts with the same RSP for sending different types of campaigns (Transactional/ Promotional).
Step 3: Add Domain
Please add the same domain that you have verified for email marketing in your Sinch dashboard.
Step 4: Add API Key
Navigate to your Sinch dashboard to find and copy your API Key, paste it in the configuration modal.
Step 5: Add RSP
Click on Add RSP and you're good to go!
Congratulations!You've now successfully integrated Sinch with your WebEngage dashboard.
You can test the integration by creating a test Email campaign and sending it to a group of internal users (aka your teammates).
Please feel free to drop in a few lines at [email protected] in case you have any further queries or feedback. We're always just an email away!
Updated 3 months ago