Real-time Uninstall Tracking
Track app uninstalls in real time using Firebase Cloud Functions.
Overview
Real-time uninstall tracking allows you to detect app uninstalls instantly using Firebase Analytics.
Prerequisites
Before you begin, ensure the following:
-
Firebase project with Blaze Plan (required for Cloud Functions)
-
Firebase Cloud Functions
Cloud Functions for Firebase is a serverless framework that programmatically provides responses to events triggered by Firebase features and HTTPS requests.
For more information, refer to Cloud Functions for Firebase.
-
Firebase Analytics enabled in your Android app
-
Node.js and npm installed
-
Firebase CLI installed and configured
-
WebEngage API Bearer Token: Refer this to generate your
BEARER_TOKEN -
Identify your WebEngage Dashboard region
Dashboard Host URL Region dashboard.webengage.com Global Data Center (US) dashboard.in.webengage.com India Data Center (in) dashboard.ksa.webengage.com Saudi Arabia Data Center(ksa)
How It Works
- Firebase logs the
app_removeevent when a user uninstalls the app (Android only) - A Firebase Cloud Function listens to this event
- The event data is sent to WebEngage
- WebEngage processes the uninstall in real time
How is real-time uninstall tracking different from the existing uninstall tracking?
The current uninstall tracking in WebEngage happens by sending Silent Push notifications once a day to all user devices or when a Push Campaign is triggered for the user device. Up to 24 hours is required to track uninstall.
Using the real-time uninstall tracking, the uninstall is tracked immediately by the Firebase SDK so that you can respond quickly to user uninstalls
Implementation of real-time uninstall tracking
Step 1: Set Up Conversion Event Using Firebase
To enable real-time uninstall tracking, make sure the app_remove event is configured as conversion event in the Firebase dashboard.
To configure the conversion event, follow these steps:
- Open the Firebase project linked to your Android app.
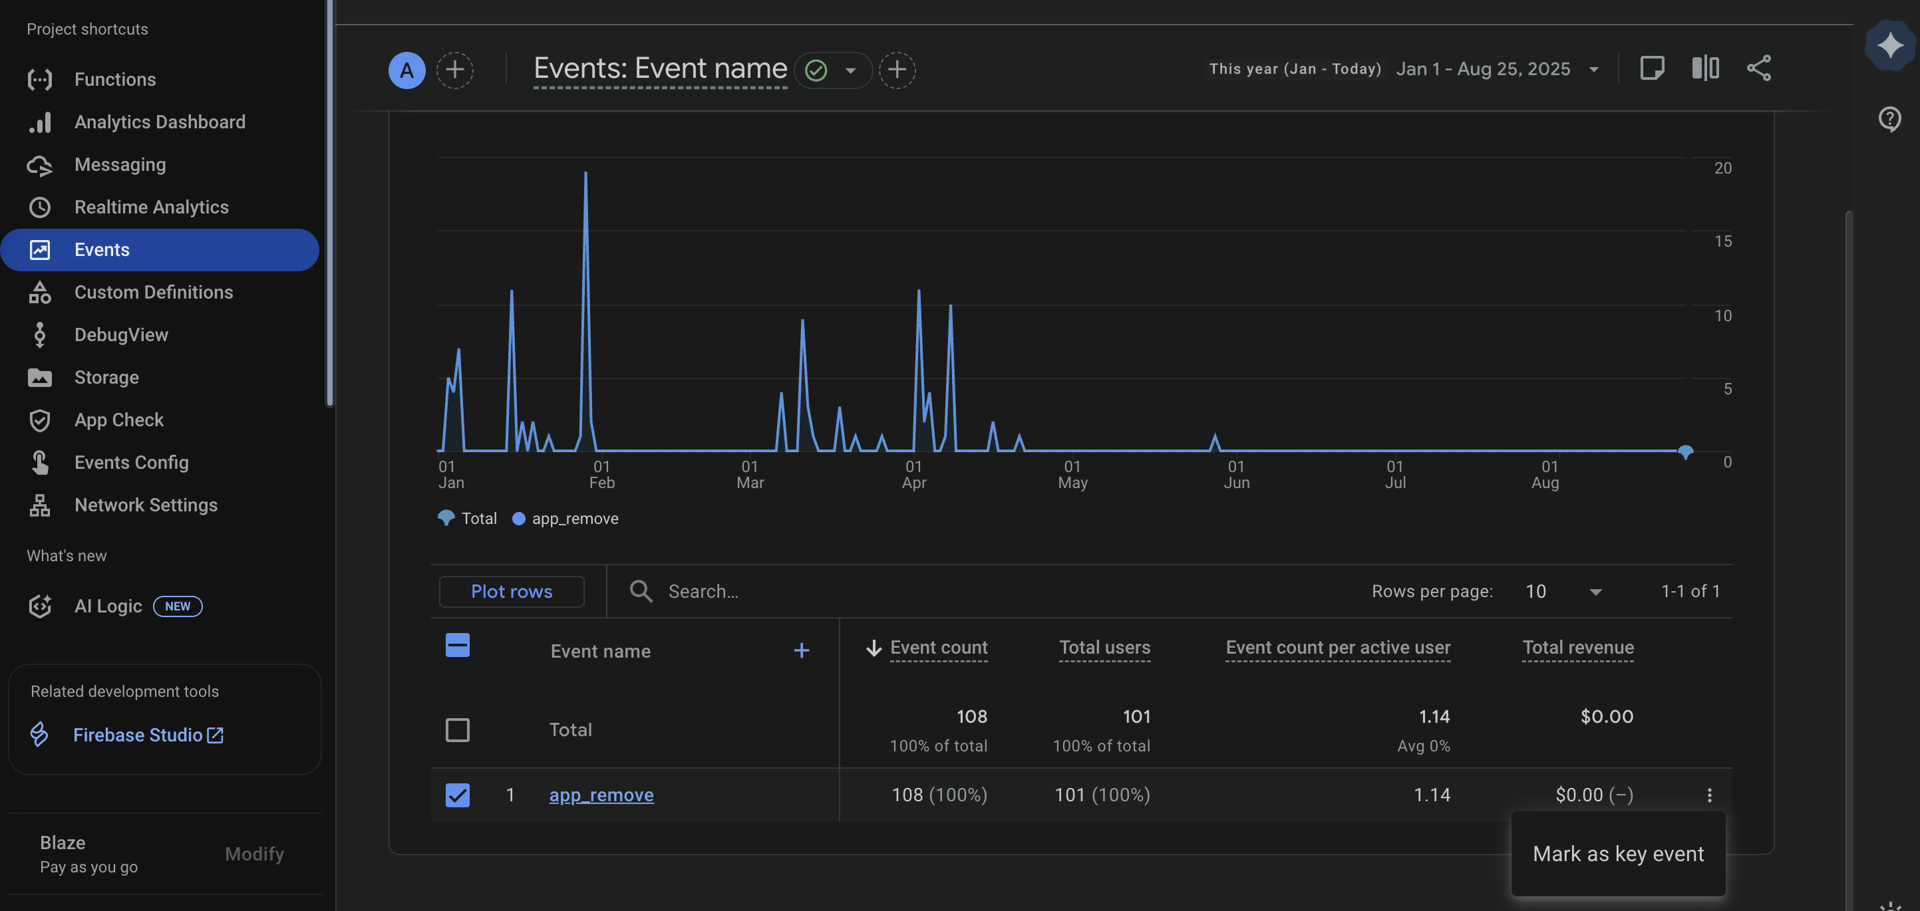
- In the Firebase dashboard, go to Analytics > Events .
- Locate
app_removeand switch on theMark as key eventtoggle.
Step 2: Creating Cloud function:
To create and publish a cloud function using Node JS, perform the following steps:
- Open a terminal.
- Set up Node.js and NPM
- Run below command in CLI to install Firebase CLI.
npm install -g firebase-tools. - To initialize and authenticate the Firebase SDK for Cloud Functions, run below command
firebase login - From your Firebase project directory, run below command
firebase init functions - Select the option to
Use an existing projectand select your appropriate project - Select
Javascriptoption forWhat language would you like to use to write Cloud Functions? - Select
Nooption forDo you want to use ESLint to catch probable bugs and enforce style? - Identify your
BASE_URL
| Dashboard Host URL | Region | BASE_URL |
|---|---|---|
| dashboard.webengage.com | Global Data Center (US) | https://c.webengage.com |
| dashboard.in.webengage.com | India Data Center (in) | https://c.in.webengage.com |
| dashboard.ksa.webengage.com | Saudi Arabia Data Center(ksa) | https://c.ksa.webengage.com |
- Open
index.jsand add the following code:
'use strict';
const functions = require('firebase-functions/v1');
const admin = require('firebase-admin');
const request = require('requestretry');
admin.initializeApp();
exports.logAndroidUninstallToWebEngage = functions.analytics.event('app_remove').onLog((event) => {
    function myRetryStrategy(err, response, body, options) {
        const shouldRetry = !!err || [500, 502, 503].includes(response.statusCode);
        console.log(`Retry strategy invoked. Should retry: ${shouldRetry}`);
        if (err) console.log('Retrying due to error:', err);
        if (response) console.log('Retrying due to status code:', response.statusCode);
        return shouldRetry;
    }
    try {
        const weInstanceIdData = event.params.we_instance_id;
        var we_cuid = event.params.cuid;
        if(!we_cuid){
            we_cuid = "";
        }
        if (!weInstanceIdData) {
            console.error('Missing or undefined "we_instance_id" in event data.');
            return;
        }
        const applicationID = event.user.appInfo.appId
        const jsonBody = {we_instance_id:weInstanceIdData, cuid: we_cuid, appID: applicationID}

        const BASE_URL = "https://c.webengage.com"; //Choose your BASE_URL as per point 9.

        const API_URL = `${BASE_URL}/firebase/android/uninstall`;

        const options = {
            method: 'POST',
            headers: {
                'Content-Type': 'application/json',
                'Authorization': 'Bearer <BEARER_TOKEN>'
            },
            body: JSON.stringify({data:jsonBody}),
            url: API_URL,
            maxAttempts: 5,
            retryDelay: 2000,
            retryStrategy: myRetryStrategy
        };
        request(options, function (err, response, body) {
            if (err) {
                console.error('Request encountered an error:', err);
            }
            if (response) {
                console.log('Response status code:', response.statusCode);
                console.log('Response attempts:', response.attempts);
            }
            if (response && response.statusCode === 200) {
                console.log('Request successful.');
                return 0;
            } else {
                console.error('Request failed. Error:', err);
                return 1;
            }
        });
    } catch (error) {
        console.error('Unexpected error occurred:', error);
    }
});- Open
package.jsonand add the following code:
{
  "name": "functions",
  "description": "Cloud Functions for Firebase",
  "scripts": {
    "serve": "firebase emulators:start --only functions",
    "shell": "firebase functions:shell",
    "start": "npm run shell",
    "deploy": "firebase deploy --only functions",
    "logs": "firebase functions:log"
  },
  "engines": {
    "node": "18"
  },
  "main": "index.js",
  "dependencies": {
    "firebase-admin": "^12.6.0",
    "firebase-functions": "^4.3.1",
    "request": "^2.88.2",
    "requestretry": "^4.1.2"
  },
  "devDependencies": {
    "firebase-functions-test": "^3.1.0"
  },
  "private": true
}- To deploy the function, run
1. firebase deploy --only functionsStep 3: Configure the Android App to send the unique WebEngage identifier
- Ensure your app has integrated Firebase Analytics SDK. For more information, refer to Get started with Google Analytics.
- Override the
onNewSessionStartedmethod of the WebEngage Lifecycle callbacks to set the Firebase Analytics event parameters when new session is started.Refer WebEngage Lifecycle callbacks for detailed steps for implementing the callback
@Override
    public void onNewSessionStarted() {
    setFirebaseAnalytics(MyApplication.getAppContext(), WebEngage.get().getCUID());
    }

    public static void setFirebaseAnalytics(Context context, String cuid) {
        try {
            FirebaseAnalytics mFirebaseAnalytics;
            mFirebaseAnalytics = FirebaseAnalytics.getInstance(context);
            Bundle bundle = new Bundle();
            String id = WebEngage.get().getWEInstanceId();

            if (!TextUtils.isEmpty(id)) {
                bundle.putString("we_instance_id", WebEngage.get().getWEInstanceId());
                bundle.putString("cuid", cuid);
                mFirebaseAnalytics.setDefaultEventParameters(bundle);
            }
        } catch (Exception e) {
            Log.e("Google Messaging Service plugin not applied: " + e);
        }
    }
Updated 3 months ago