AppsFlyer
This integration allows WebEngage to capture attribution event information from AppsFlyer.
Configuring WebEngage in AppsFlyer
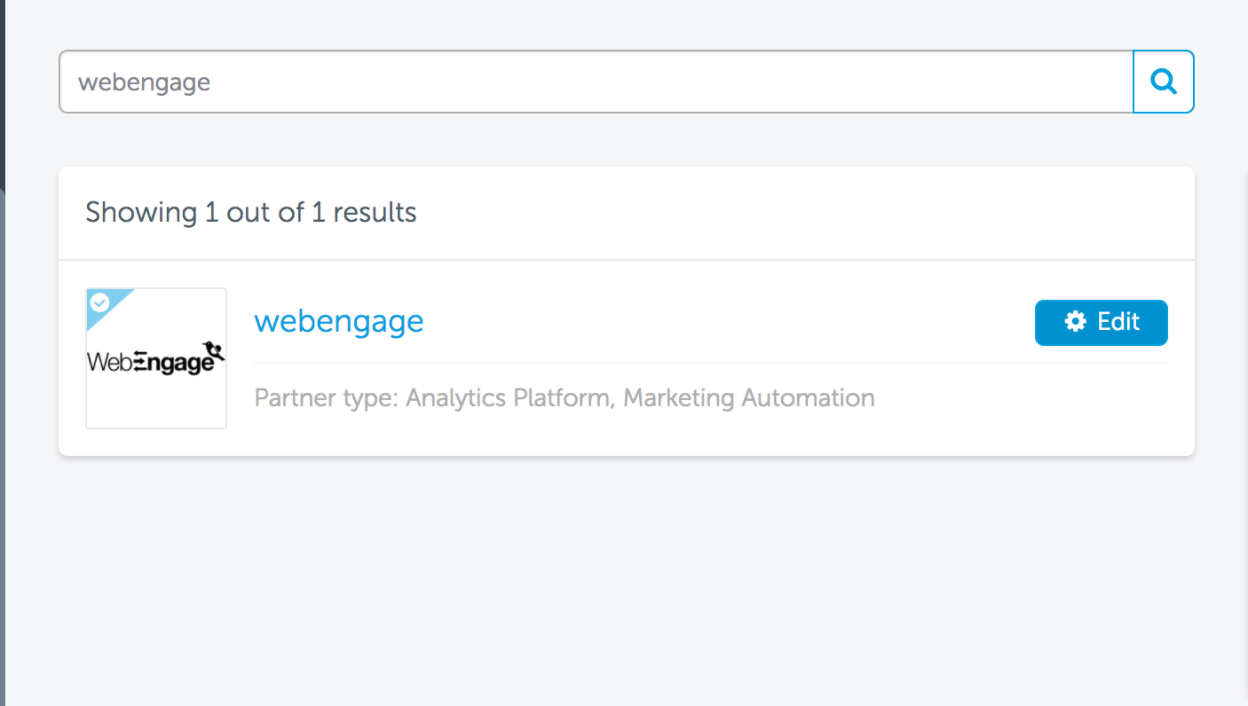
- Log in to your AppsFlyer dashboard and navigate to Integrated Partners through the left panel. As shown below, search for webengage and select it from the results.
Step 1: Activate Partner
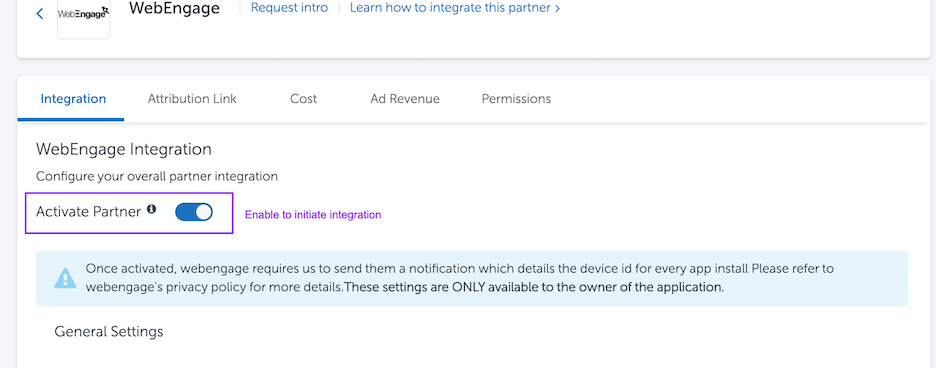
As highlighted below, toggle the Activate Partner switch under the Integrations tab to start sending data to your WebEngage account.
Click to enlarge
Step 2: Configure Default Postbacks

Click to enlarge
As highlighted above:
- Select Install under Event Name.
- Select Events attributed to any partner or organic under Sending Option.
Step 3: Add WebEngage API Key & (Data Center) Region
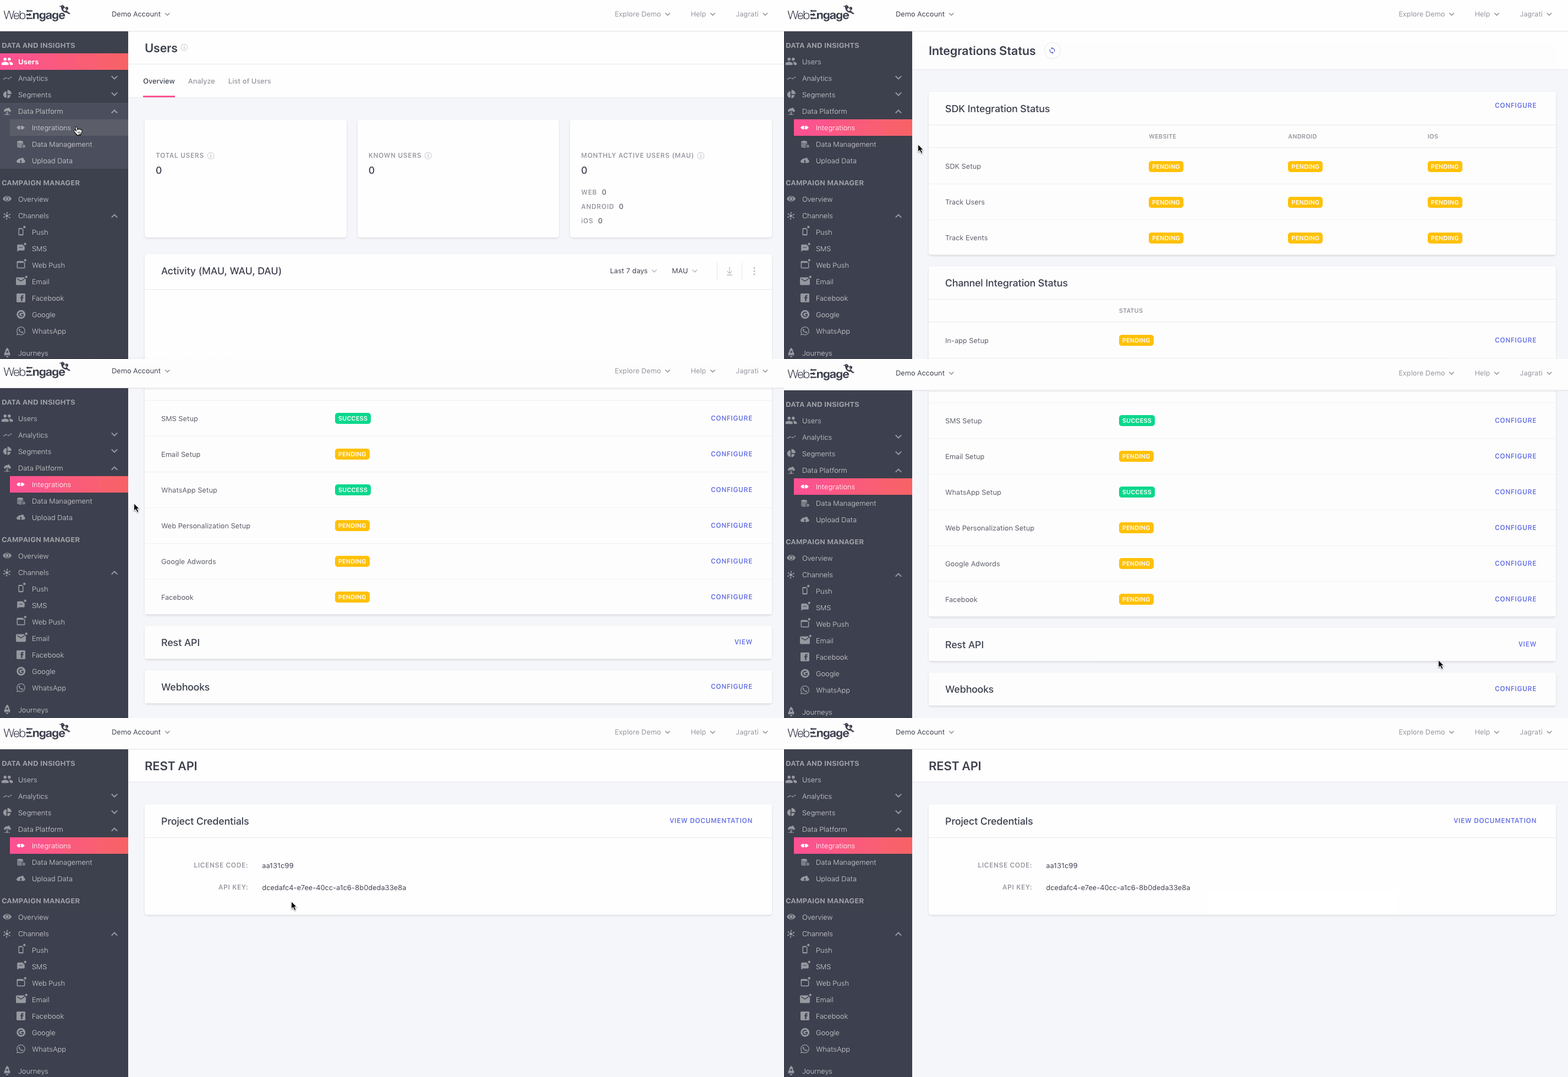
- Finding WebEngage API Key: As shown below, navigate to Data Platform > Integrations > Rest API in your WebEngage dashboard. You will find your API Key under Platform Credentials.
Click to enlarge
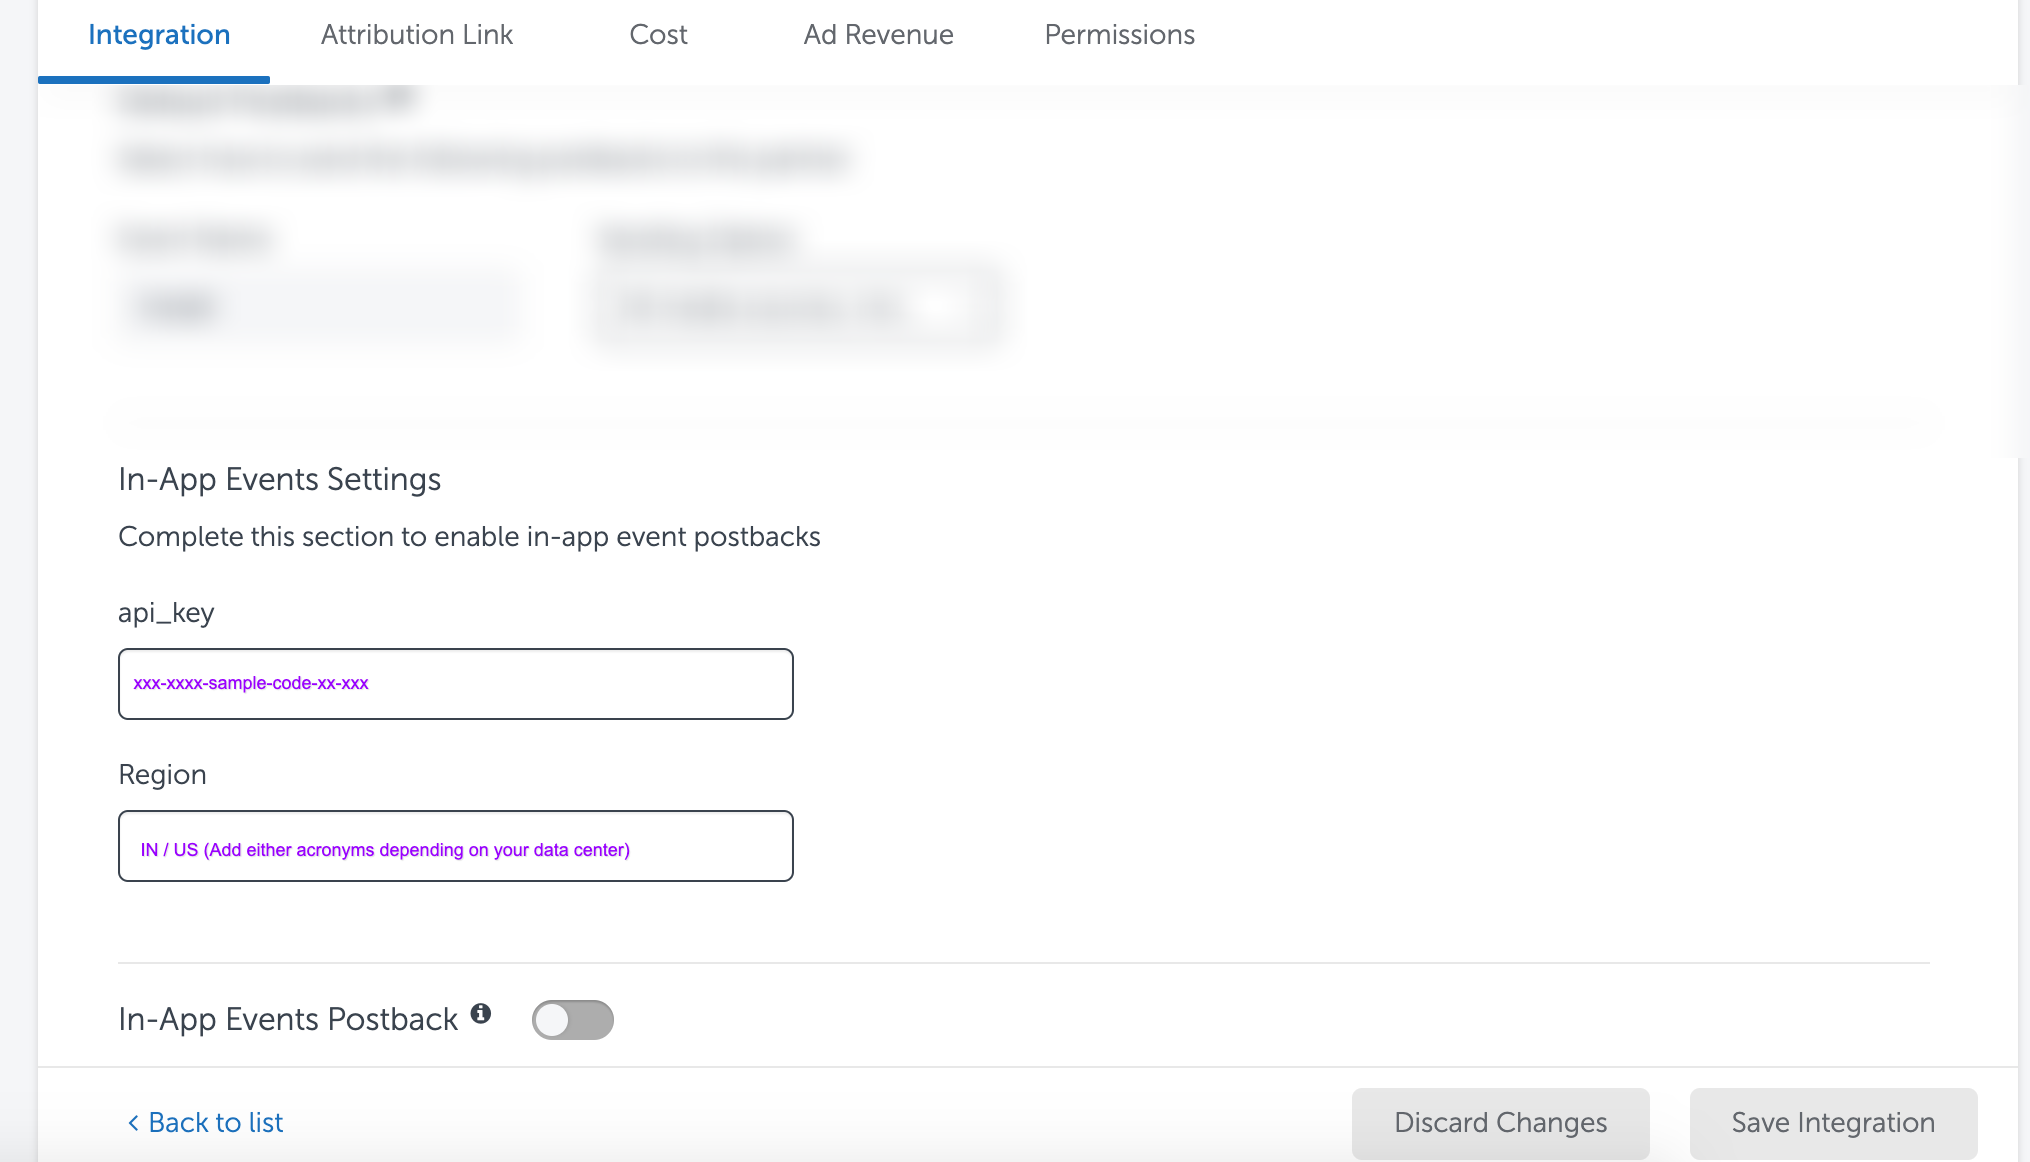
- Adding WebEngage API Key: As highlighted below, you can add it under the first field, api_key.
Click to enlarge
-
Adding Region (of your WebEngage Data Center): At WebEngage, you can choose to host all your data at three centers - US, Saudi Arabia or India. By default, all data is stored in our US data center. However, you can choose to host it at our India or Saudi Arabia data center by specifying the same in your contractual agreement.
- As highlighted above, depending on your data center, add either of the following acronyms in all-caps (as the field, Region, is case-sensitive) :
- IN (for India Data Center)
- US (for USA Data Center)
- KSA (for Saudi Arabia Data Center)
Identifying Your Data CenterIf your WebEngage dashboard URL starts with,
dashboard.webengage.com, then it means that you're using our US data center.If your WebEngage dashboard link starts with,
dashboard.in.webengage.com, then it means that you're using our India data center.If your WebEngage dashboard link starts with,
dashboard.ksa.webengage.com, then it means that you're using our Saudi Arabia data center.
- Click Save Integration, and you're good to go!
Sending Re-Engagement Data of Push Notifications to Appsflyer
Our integration enables a two-way flow between Appsflyer and your WebEngage dashboard. Here's how you can send re-engagement data for your Push Notifications:
Step 1: Enable Appslfyer SDK to collect the re-targeting data as shown here
Step 2: Enable Re-targeting option under App Settings in Appsflyer dashboard and set the appropriate time gap between conversions as shown below:

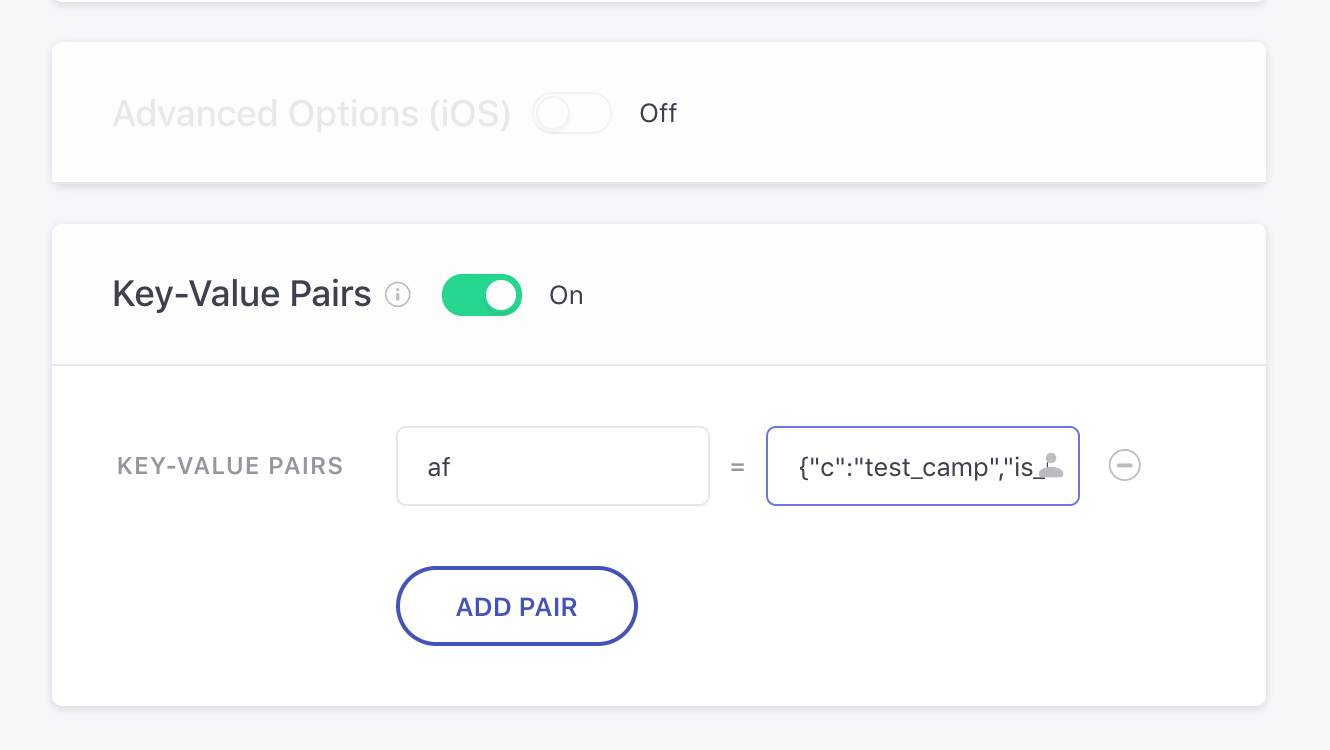
Step 3: Add the following key-value pair under Step 3: Message > Key-Value Pairs while creating the Push Campaign.
key: af
value: {"c":"CAMPAIGN_NAME","is_retargeting":"true","pid":"webengage_int"}Replace
CAMPAIGN_NAMEwith the name of push campaign.
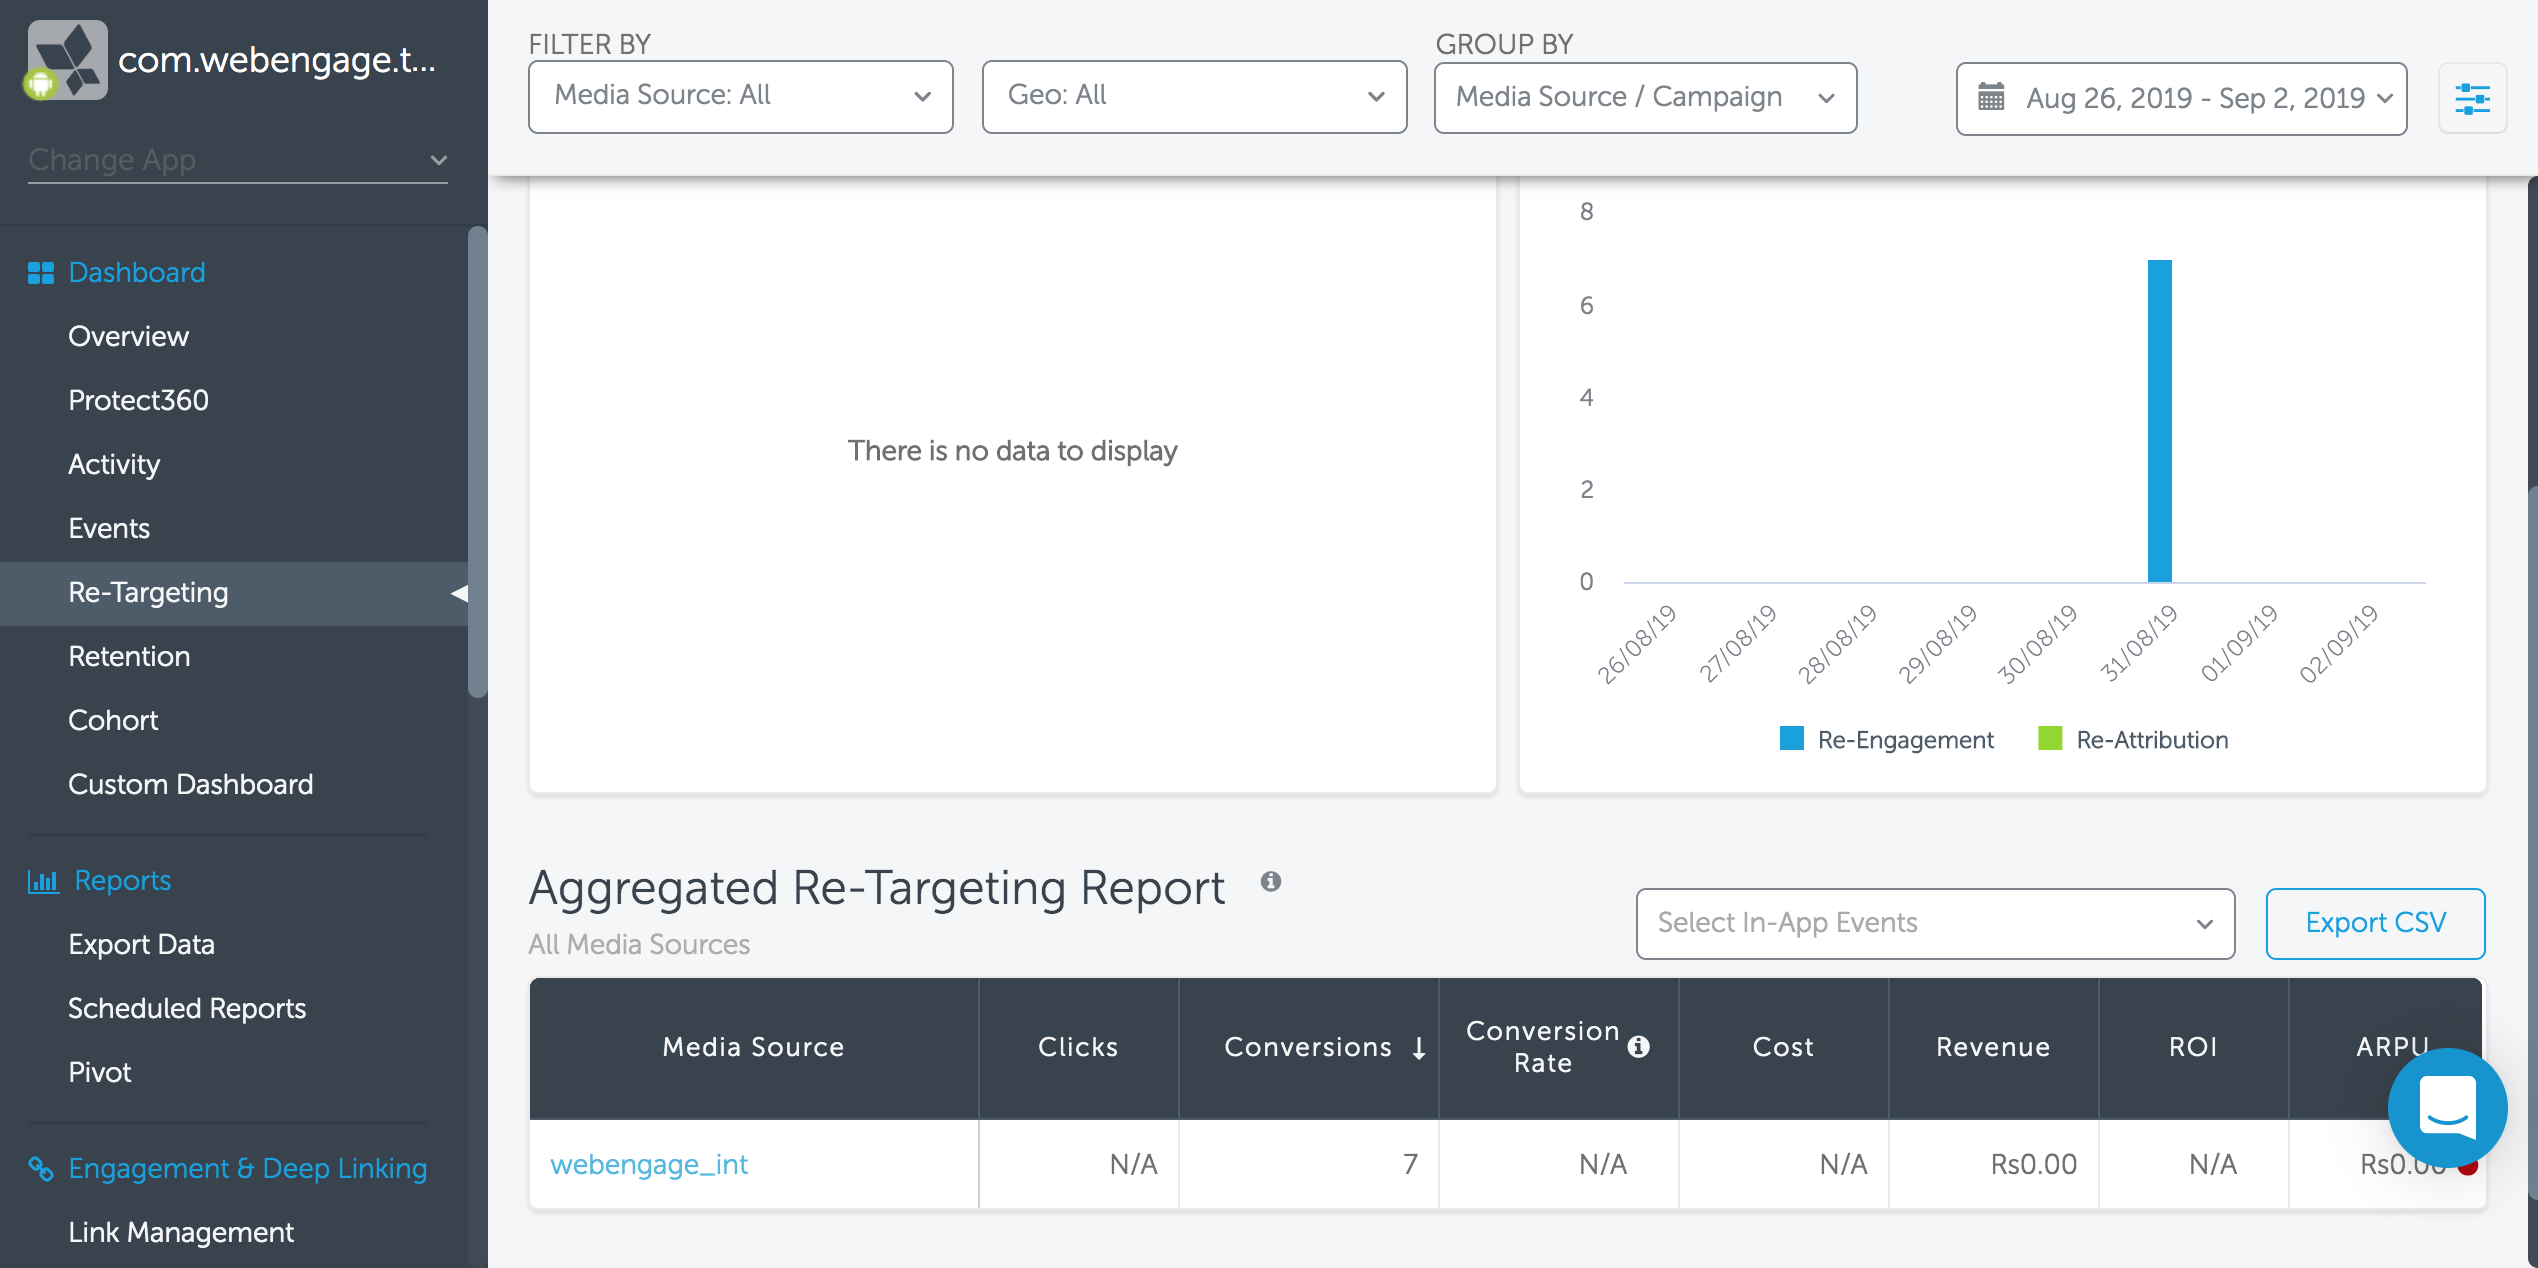
Data will now start appearing on your Appsflyer's dashboard as and when users interact with your Push Notifications.
Please feel free to drop in a few lines at [email protected] in case you have any queries or feedback. We're always just an email away!
Updated 3 months ago