Getting Started
Welcome to WebEngage's Developer Hub!
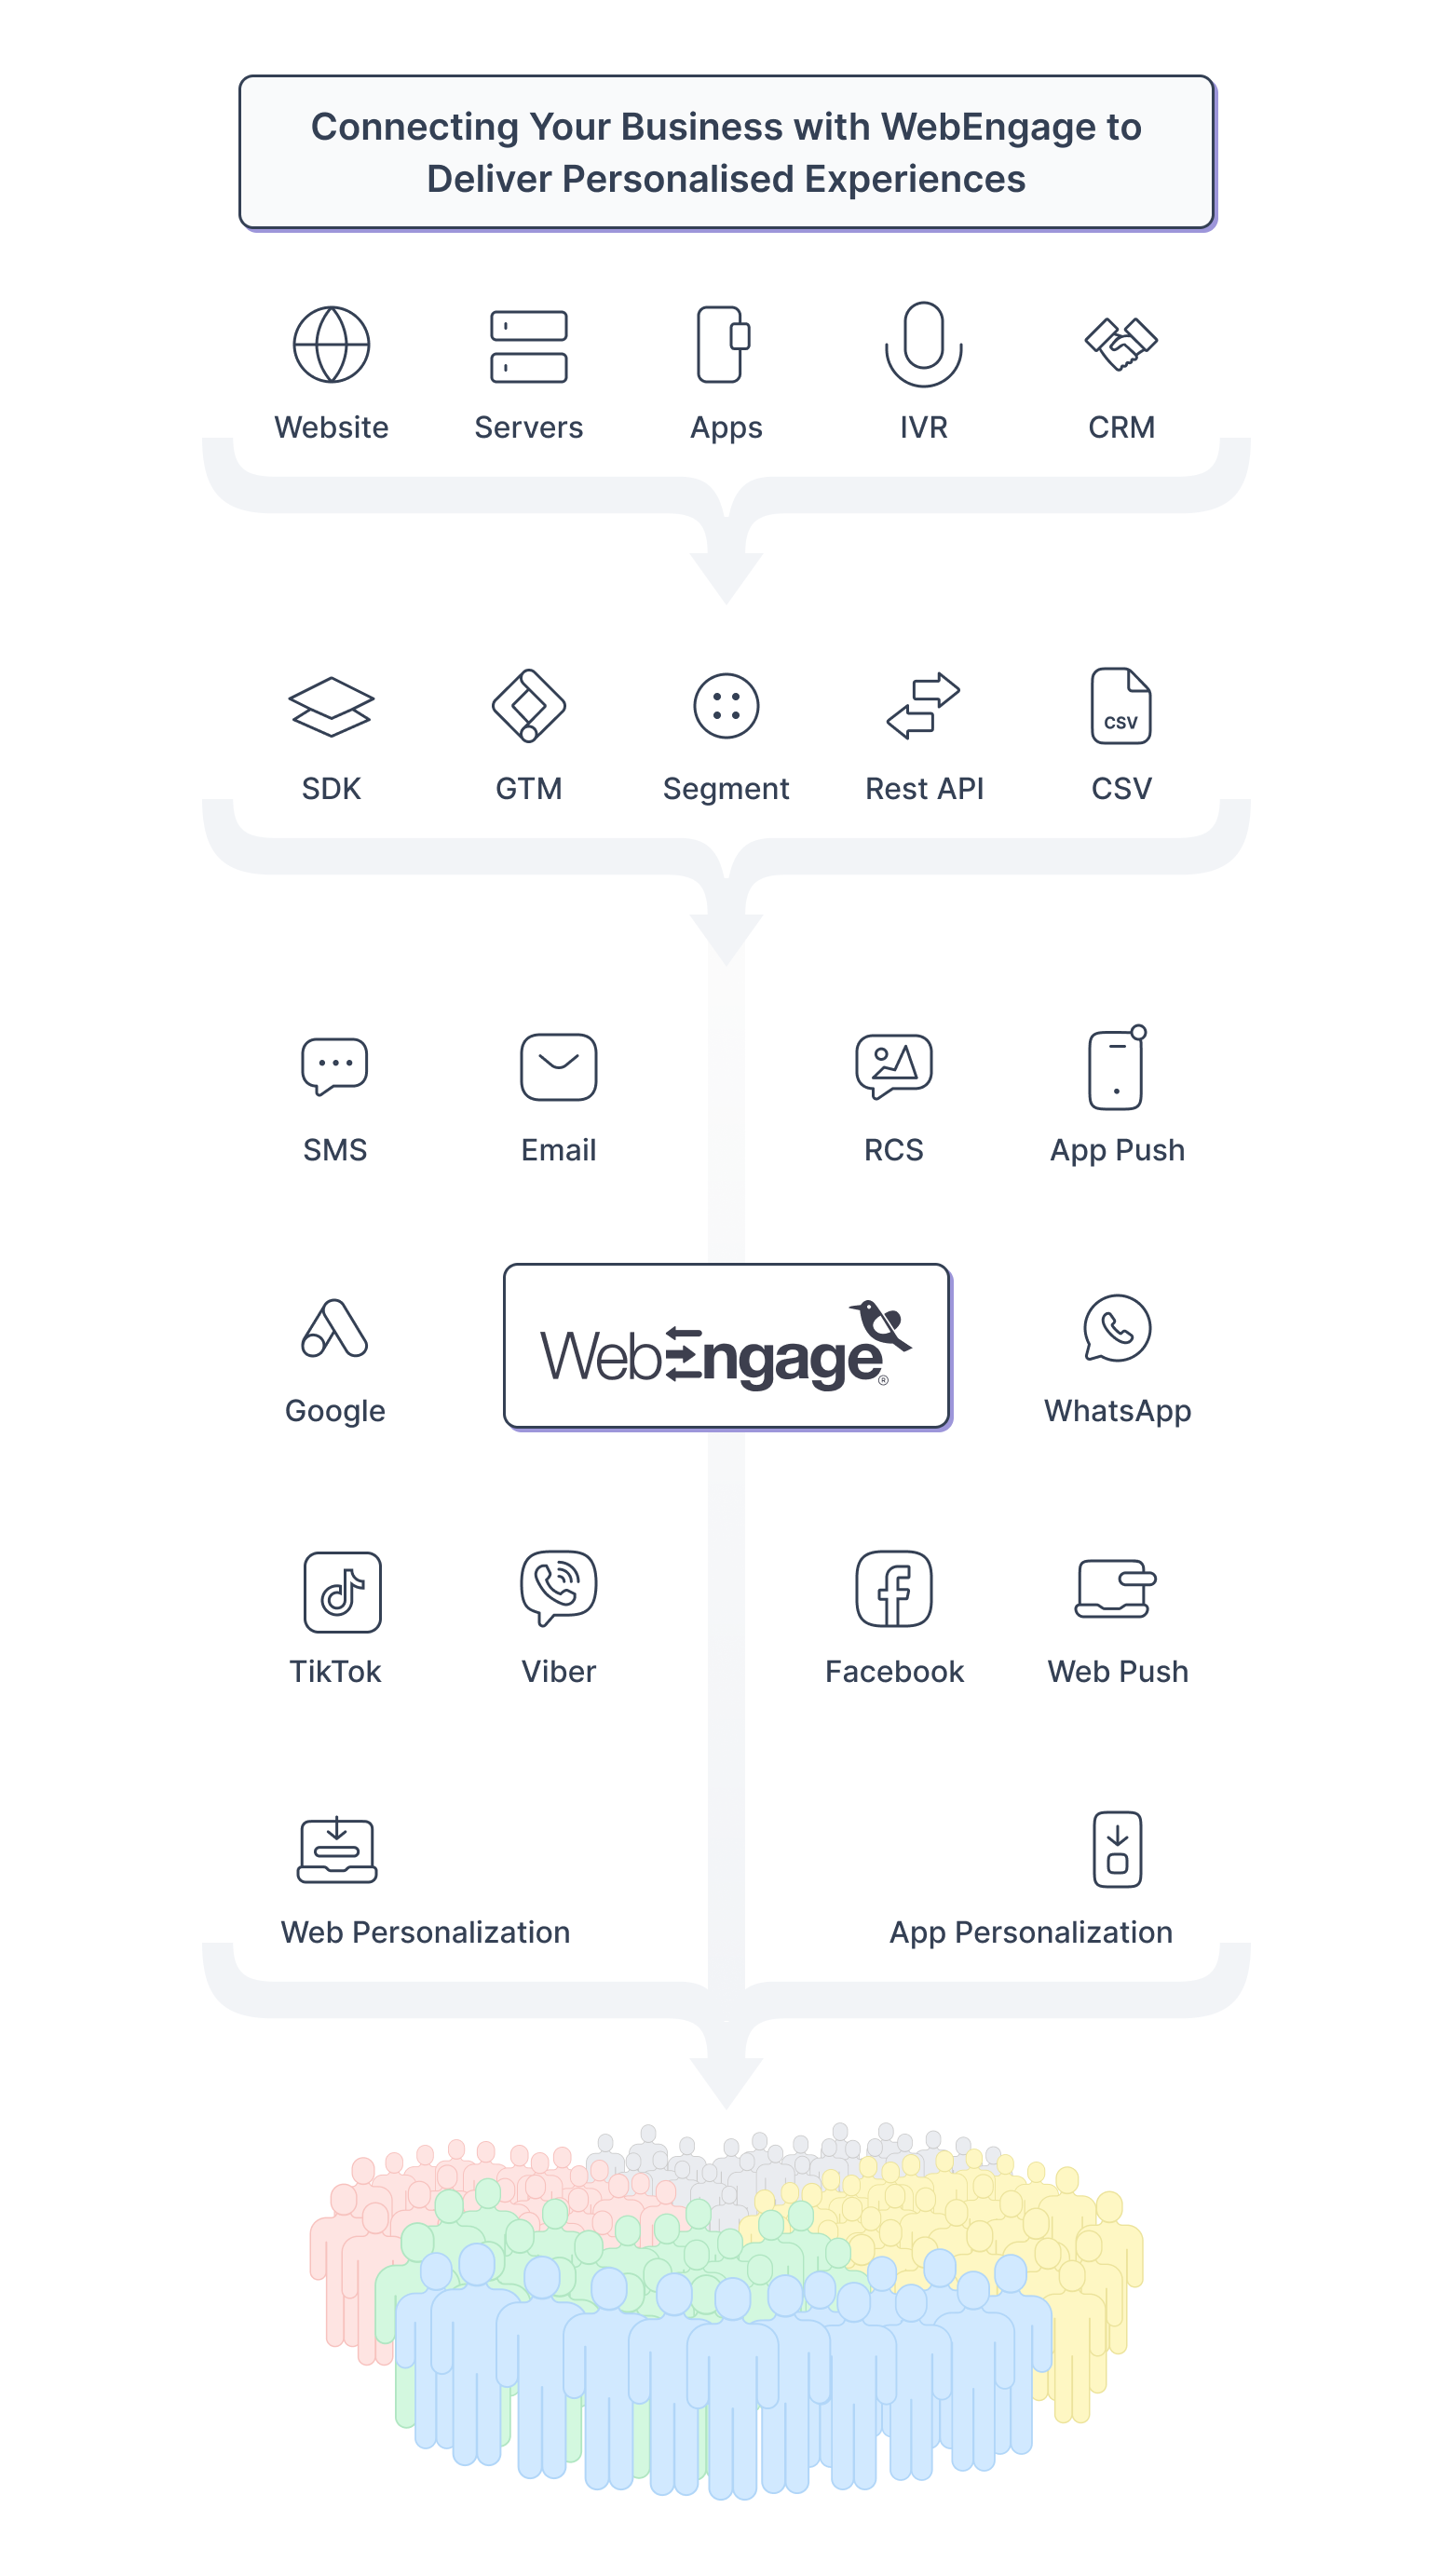
This documentation covers the steps to integrating your apps and website with WebEngage. We’ll also discuss a few fundamentals of how the dashboard works in tandem with your business to provide a 360° view of your users and engage them with contextually personalized messages.
Let's get you started!

Step 1: Platform Integration
Connect your platforms with WebEngage through an SDK Integration. This can be done through any of the following methods:
-
Direct SDK: Website, Android, iOS, Cordova/PhoneGap/ Ionic, React Native, Unity.Android, Unity.iOS, Xamarin.Android, Xamarin.iOS, AMP Pages
Once you've connected all your platforms, we will automatically start tracking specific pre-defined data points as System Events, System User Attributes in your dashboard.
Step 2: Track Custom User Data & Behavioral Data
Using the WebEngage SDK, you can track and pass custom user data (Custom User Attributes) and behavioral data (Custom Events) to your dashboard for all your anonymous and identified users.
Step 3: Channel Setup
Configure Push, In-app, SMS, On-site, Web Push, Email, WhatsApp & Facebook Retargeting to start engaging users. Doing so will also enable you to build cross-channel user experiences through Journeys & automate product communication through Relays.
Step 4: Start Engaging Users!
Head over to our User Documentation to understand how you can leverage WebEngage's channels and analytical capabilities to deliver impactful user experiences.
Updated 9 days ago
Understanding Users, Events & how you can track these for your business