Getting Started
In the following sections, we will cover how you can get started with implementing Web Push as a channel of engagement on WebEngage. Before we proceed, please ensure that you have completed the Website SDK Integration. You will not be able to start the channel configuration process otherwise.
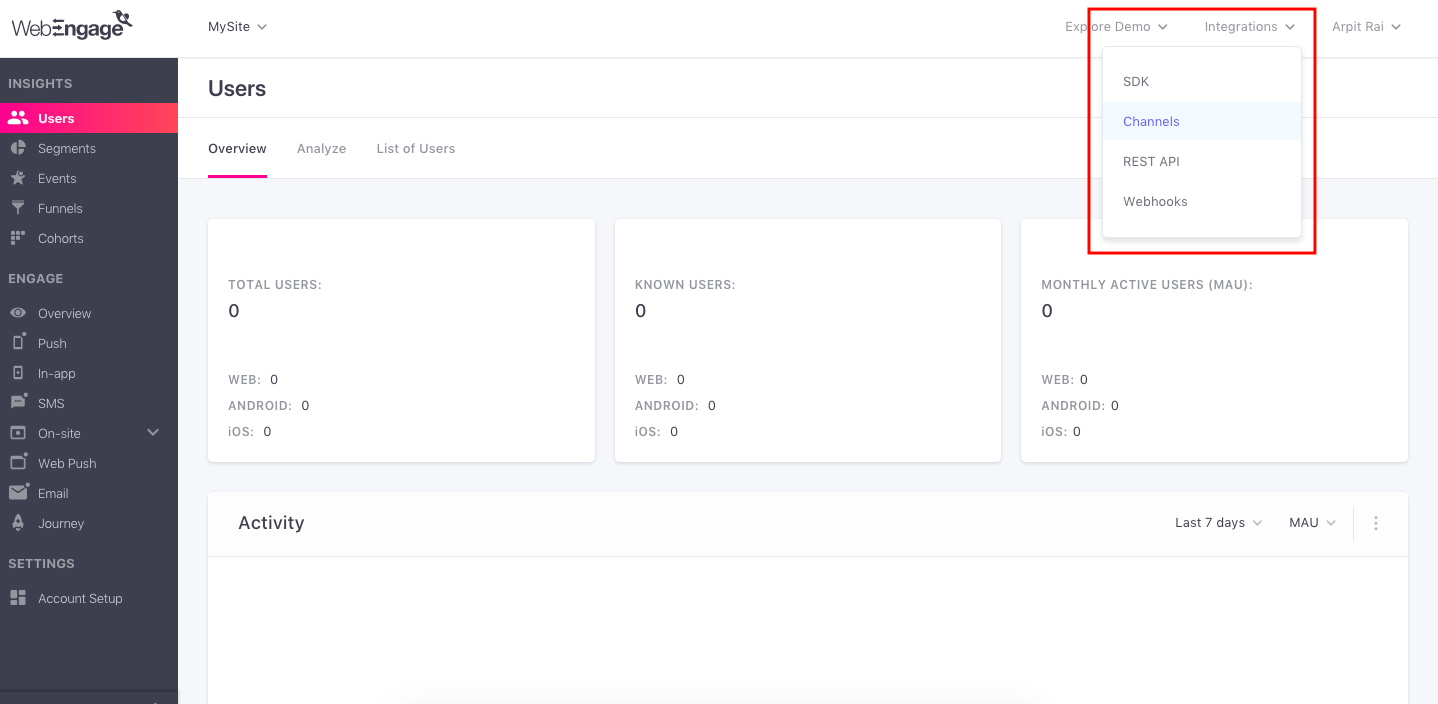
Click on Integration > Channels menu on the top-right and then navigate to the Web Push section.

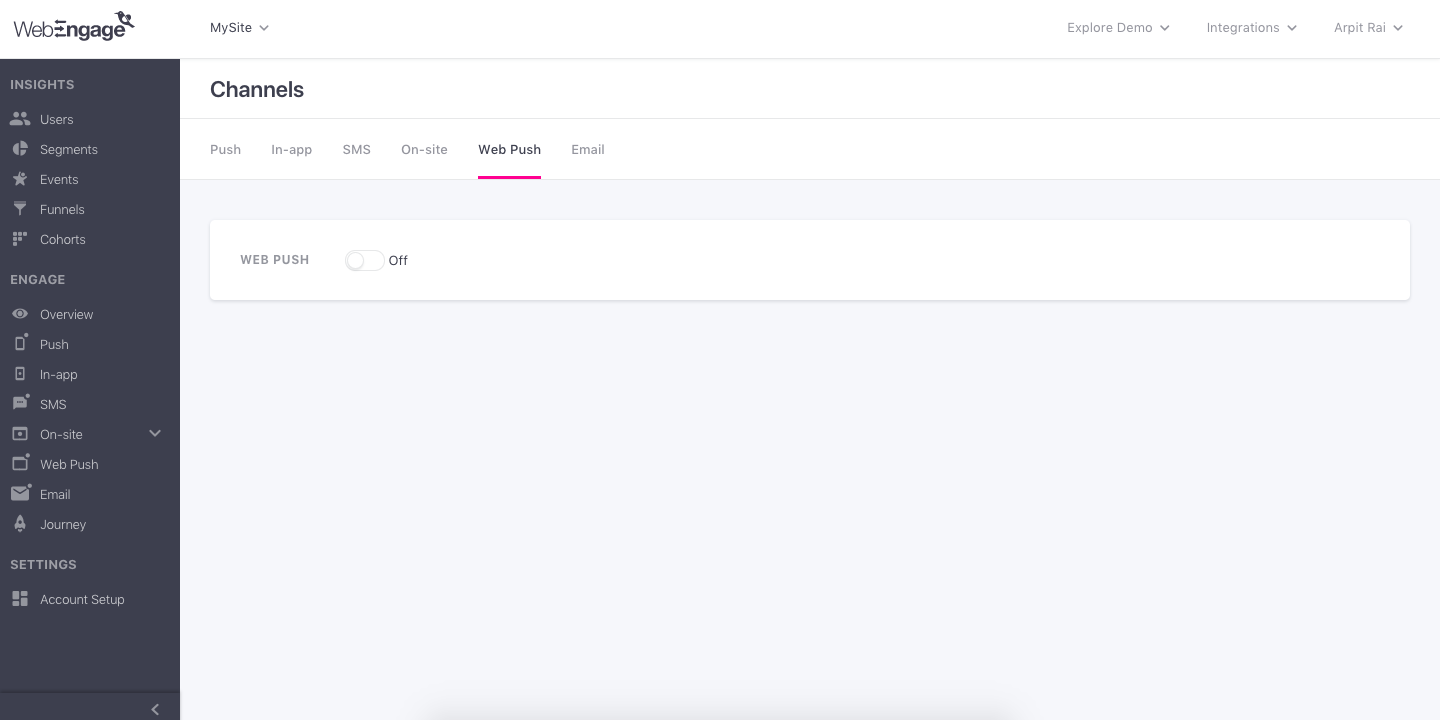
When you first go the Web Push configuration page on WebEngage, you’ll see that this channel is disabled.

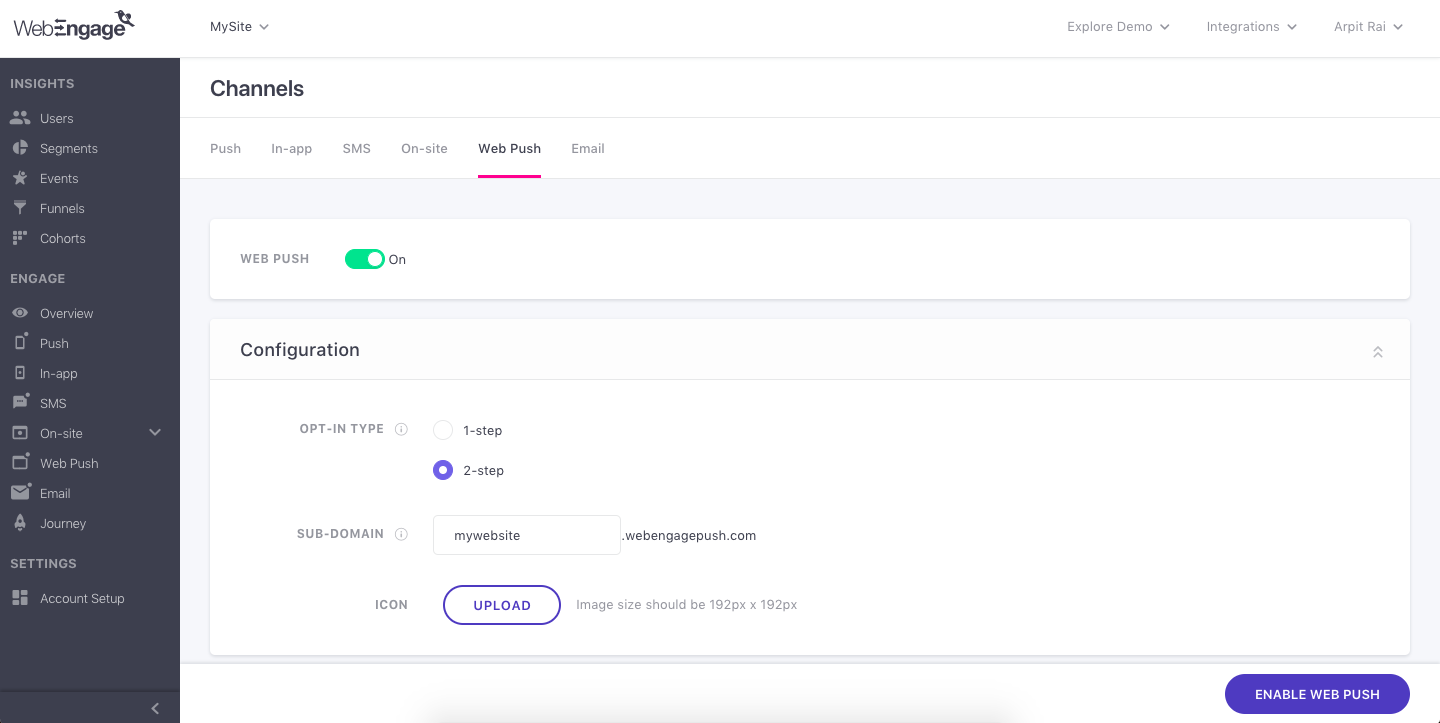
Switch the toggle On to enable this channel for your project. As soon as you switch the toggle On, WebEngage will ask you to select the opt-in type. The 2-step opt-in is selected by default.

If you would like to use the 2-step opt-in, then you only have to click on the Enable Web Push button and the channel would be configured with the default settings and made active. As soon as this step is complete, your users will be able to opt-in to receive notifications on their browsers.
You can now start creating web push notifications by going to the Web Push channel from the navigation panel on the left-hand side.
Please read the following sections in detail, if you would like to use 1-step opt-in or if you want to change some of the default settings in 2-step opt-in.
Updated 3 months ago